Home » Knowledge Base » PageSize implementation in Accounts/Contacts/Policies
Account and Contact Management, Miscellaneous
PageSize implementation in Accounts/Contacts/Policies
May 29, 2026
Release Date: 25 August 2025
A new enhancement for selecting page size has been introduced in the Accounts, Contacts, and Policies sections.
You can now choose how many entries to display per page (e.g., 10, 25, 30).This works across all statuses, including Active,Inactive,Cancelled, and Future.
Use Case: This enhancement ensures a smoother workflow for agents by allowing them to work with their preferred number of entries while still applying filters and actions. It eliminates the inconvenience of resetting the page size after each filter change, maintains an organized view, saves time, and improves efficiency—especially when handling large datasets.
To View the Enhancement (Account):
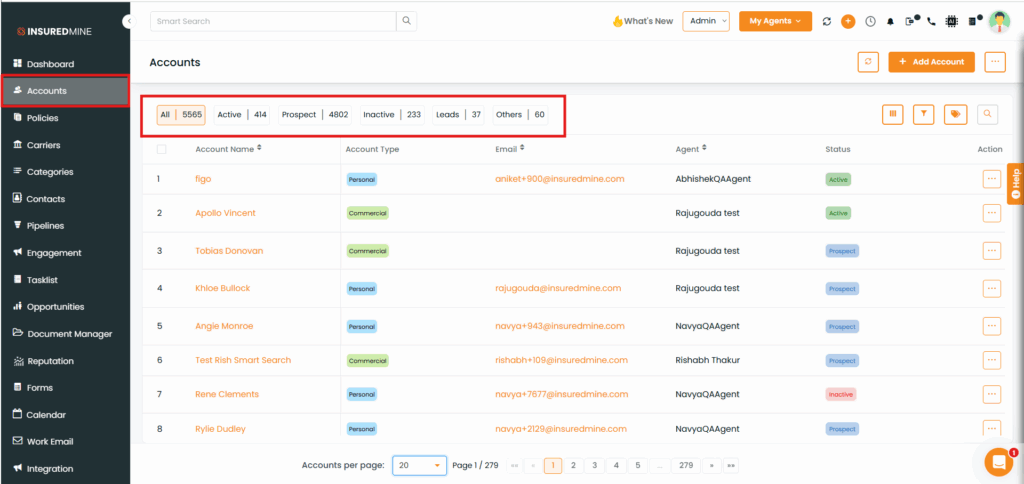
Navigate to the Accounts.
Note: You can view your data based on the desired status (All, Active, Prospect, Inactive, Leads, and Others).
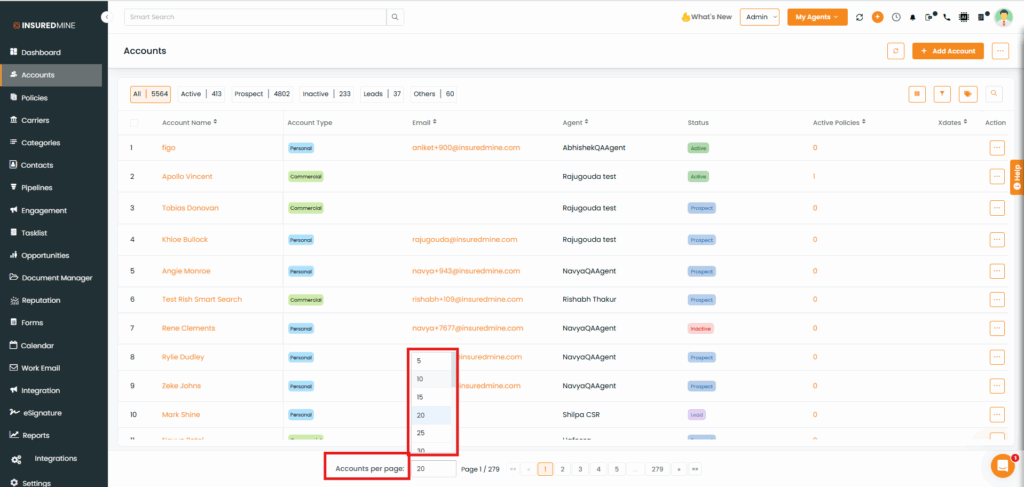
At the bottom of the page, use the Accounts per page dropdown to select how many entries you want to view (e.g., 5, 10, 25, 30).
After selecting the number, the page will display that many entries.
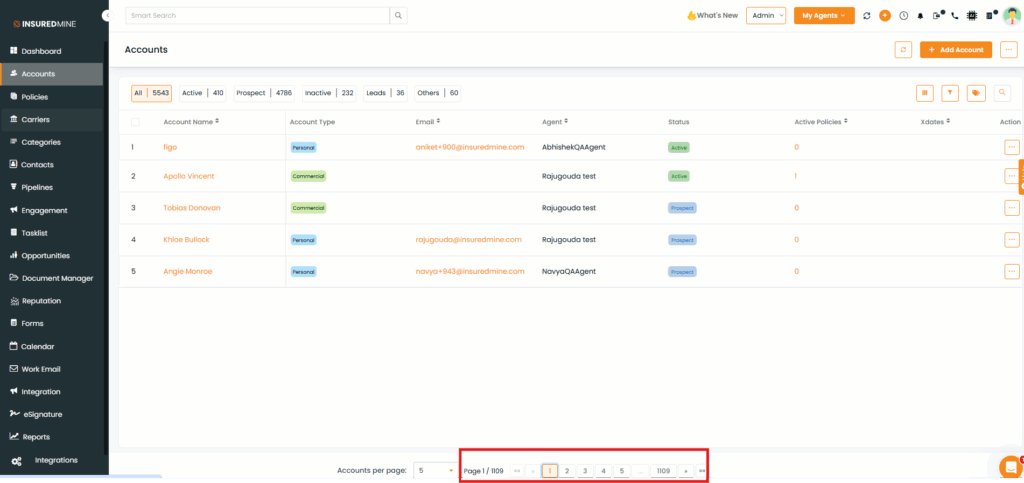
Use the page numbers and arrows to move between pages while keeping the same number of entries displayed.
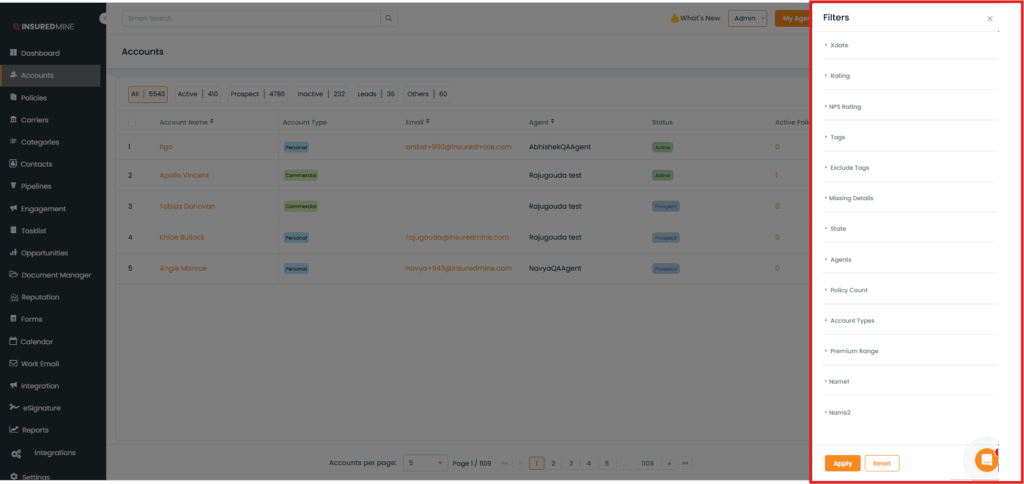
Apply filters as needed to refine the displayed data.
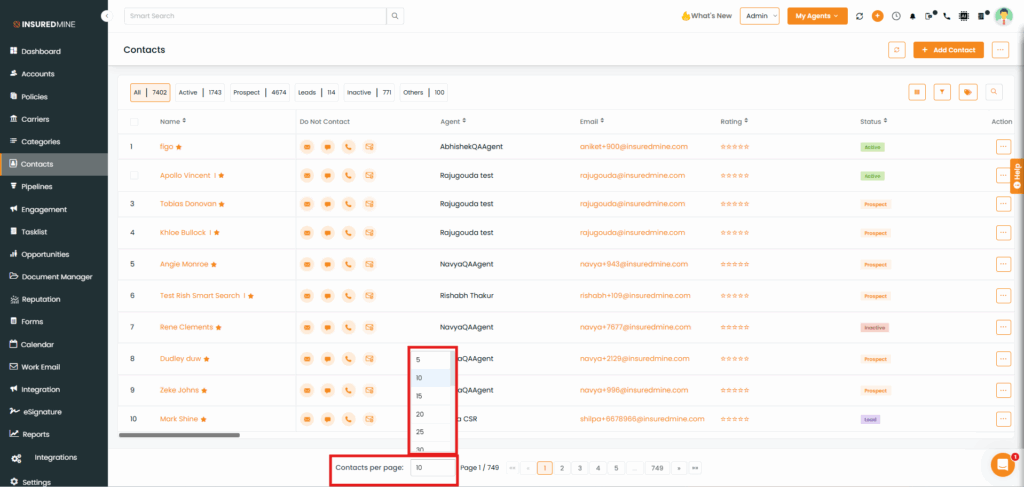
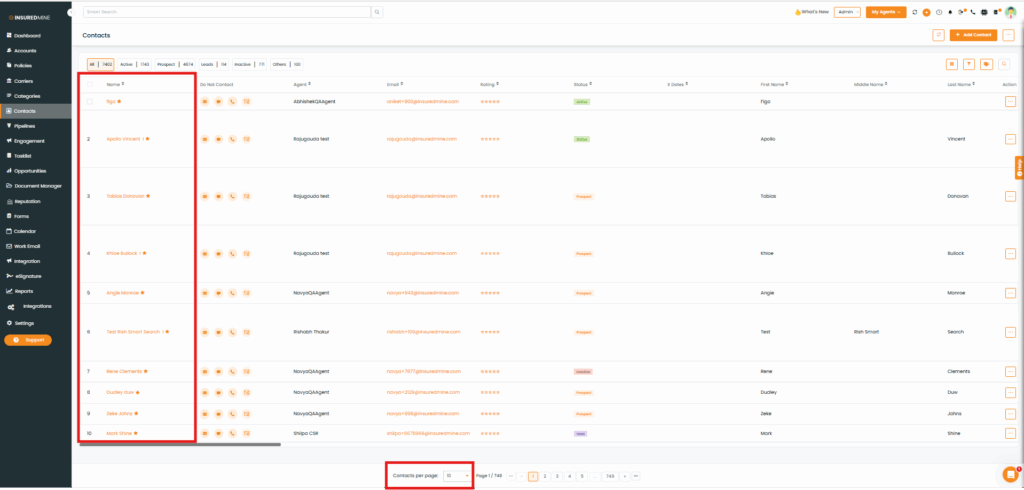
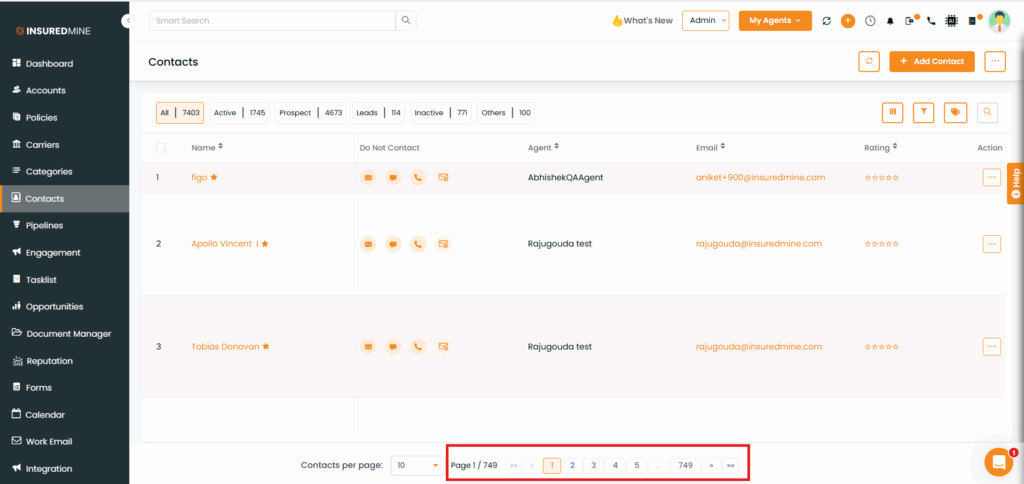
To View the Enhancement (Contacts):
Navigate to the Contacts
Select the desired Status
At the bottom of the Contacts page, use the Contacts per page dropdown to select how many entries you want to view.
After selecting the number, the page will display that many entries.
Use the page numbers and arrows to navigate between pages with the same number of entries.
Apply Filters as needed.
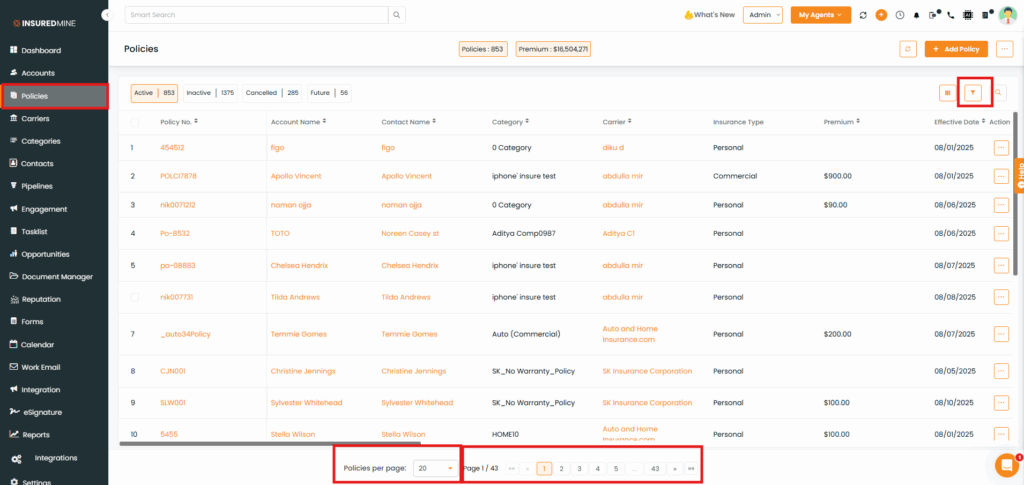
Note:To view the enhancement in Policies, navigate to the Policies page.
All remaining steps—selecting the number of entries per page, navigating pages, and applying filters—are the same as in Accounts and Contacts.