Home » Knowledge Base » Agency Level SSO Management with Agent Level Customization
Configuration
Agency Level SSO Management with Agent Level Customization
August 19, 2026
Release Date: August 12, 2026
We have introduced a new enhancement in User Management called Customize SSO. This feature allows agencies with Single Sign-On (SSO) enabled to control which individual agents can log in using SSO and which agents can continue using their email and password.
Previously, when an agency had SSO enabled, all users followed the same login experience. With this enhancement, Admins can now manage SSO access for each agent individually while keeping SSO enabled for the agency.
Note: This feature is available only for agencies with Single Sign-On (SSO) enabled. If your agency does not have SSO configured, the Customize SSO option will not be available in User Management.
Use Case: Suppose an agency has enabled Single Sign-On for all its users. However, a few agents need to continue using their email and password due to specific business requirements. Instead of disabling SSO for the entire agency, the Admin can now enable Customise SSO and selectively disable it for specific agents. This allows the agency to use both authentication methods based on individual user requirements.
To View the Enhancement:
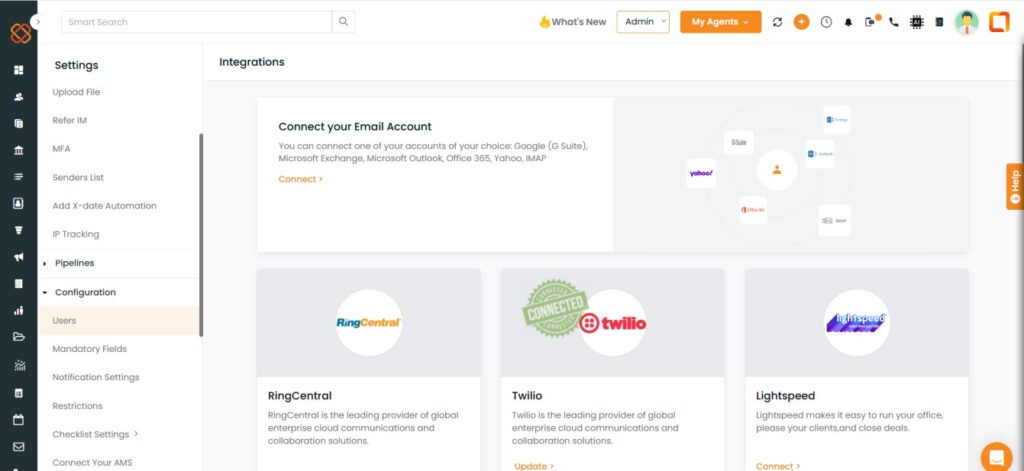
Navigate to Settings.
Click on Configuration
Click on User.
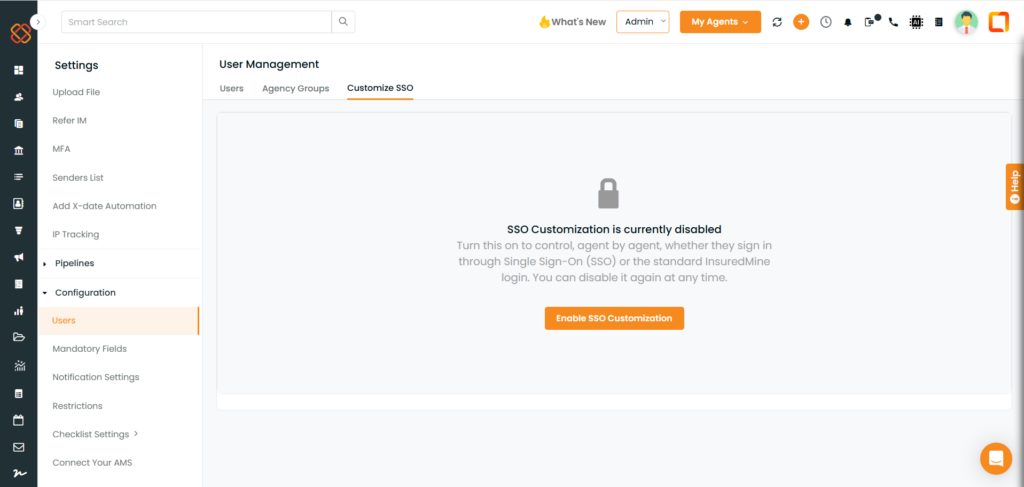
You will now see the Customize SSO option.
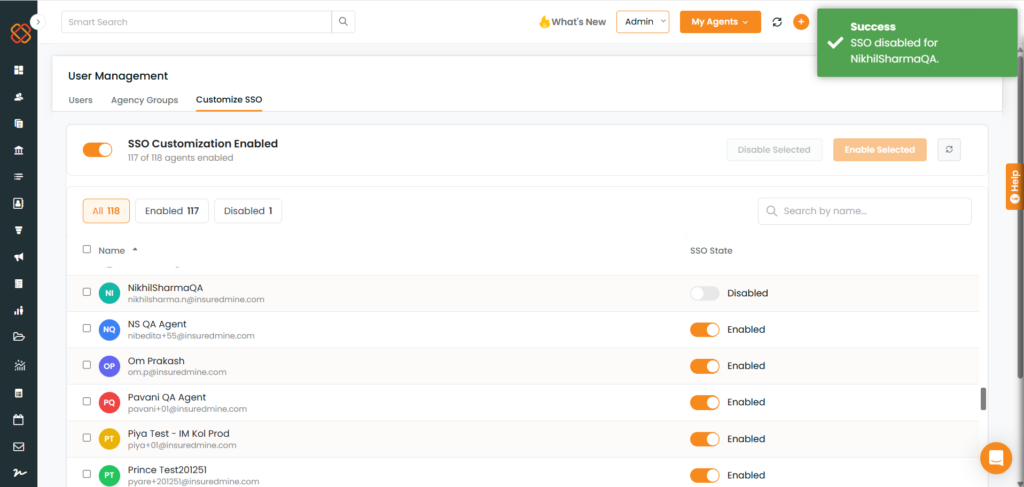
Click on Enable the SSOCustomization.
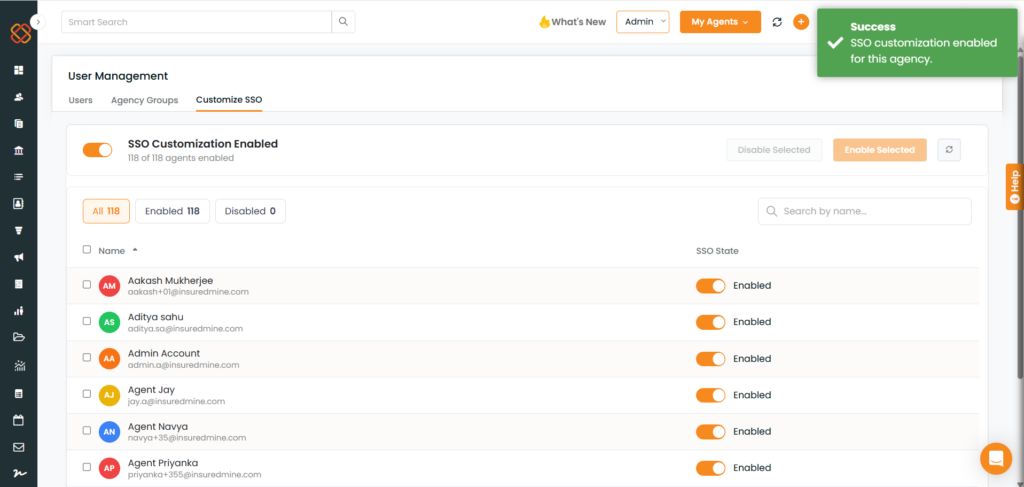
Once enabled, all agents within the agency will be displayed.
By default, SSO will be enabled for every agent.
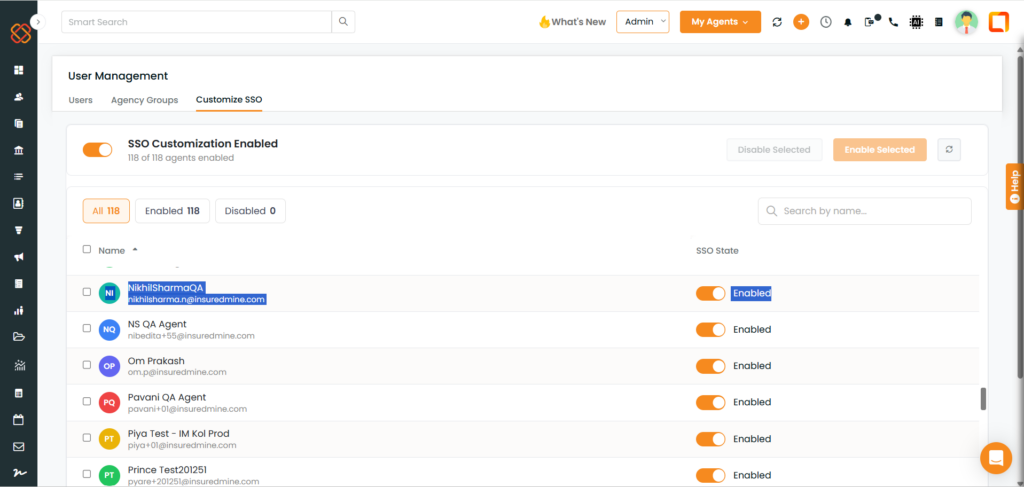
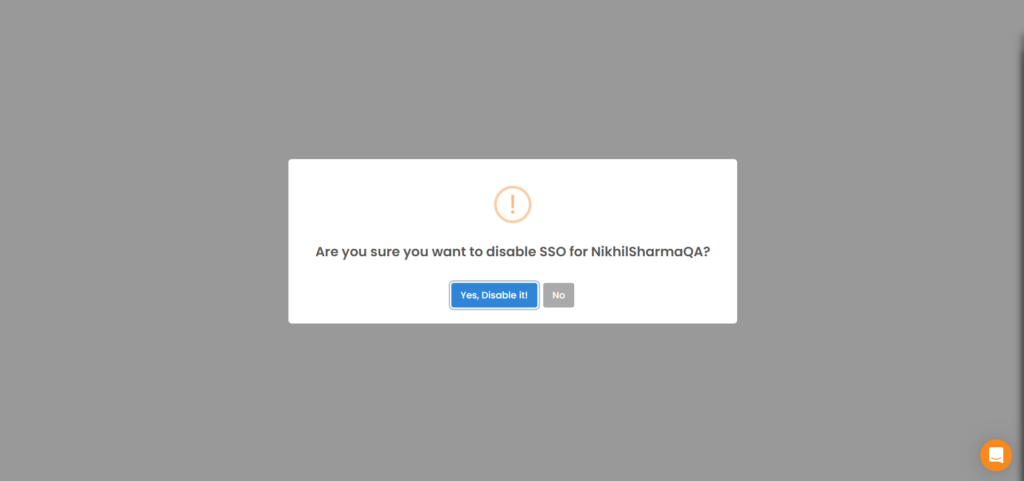
If you want an agent to log in using email and password instead of SSO, click Disable next to that agent.
Note: The selected agent will now be configured to use email and password authentication, while all other enabled agents will continue using SSO.
Login Experience
When Customize SSO is Disabled
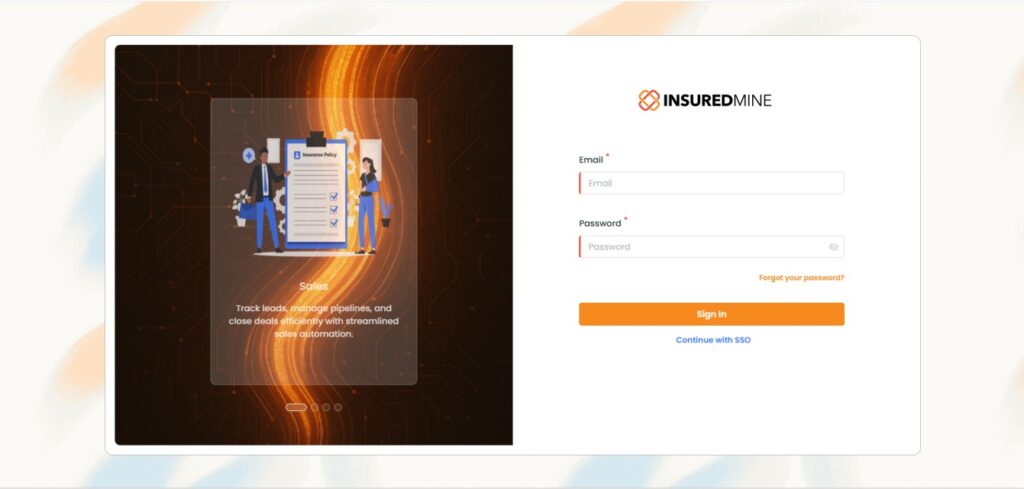
If the agency has SSO enabled but Customize SSO is turned off, users will continue to see the existing login page.
The login page will display:
Email
Password
Continue with SSO
Users can either sign in using their email and password or click Continue with SSO to authenticate through their identity provider.
When Customize SSO is Enabled
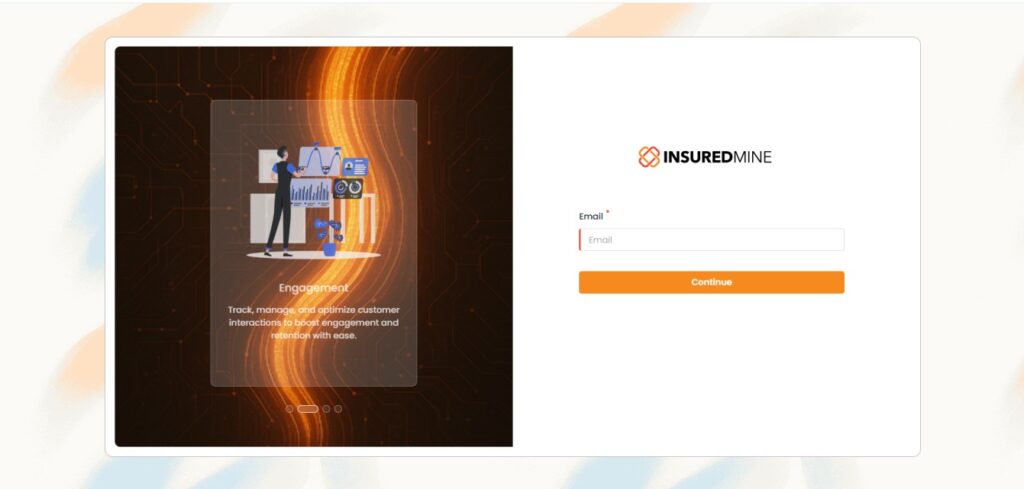
When Customize SSO is enabled, the login experience changes.
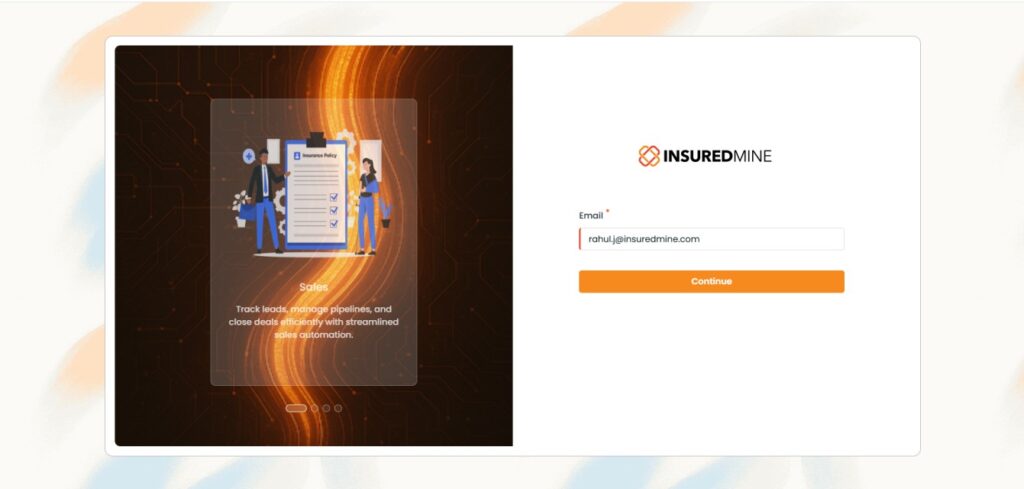
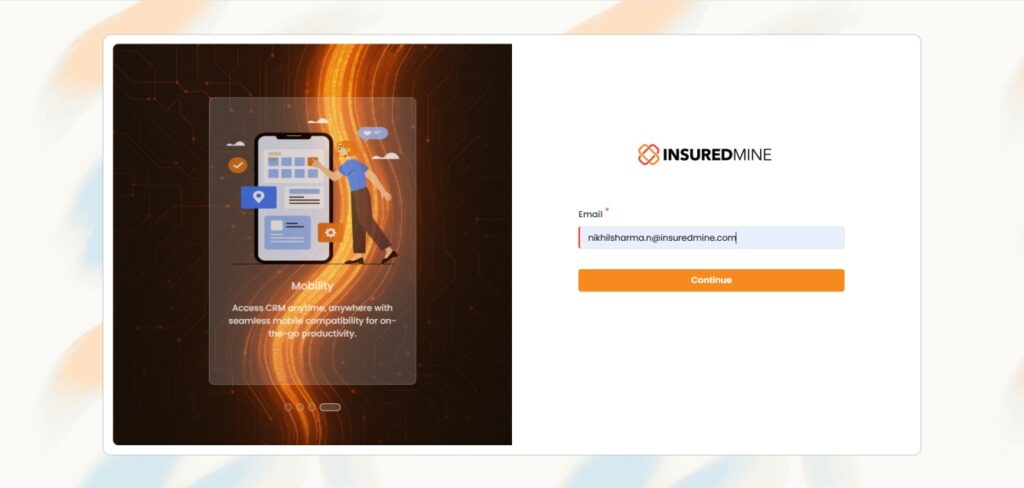
Users will first enter their email address and click Continue.
Note: The system will then determine the login method based on the Admin’s configuration for that agent.
Agent with SSO Enabled
If SSO is enabled for the agent:
Enter your email address.
Click Continue.
Select Continue with SSO.
Complete authentication through your organization’s identity provider.
Note: The system will then determine the login method based on the Admin’s configuration for that agent.
Agent with SSO Disabled
If SSO has been disabled for the agent:
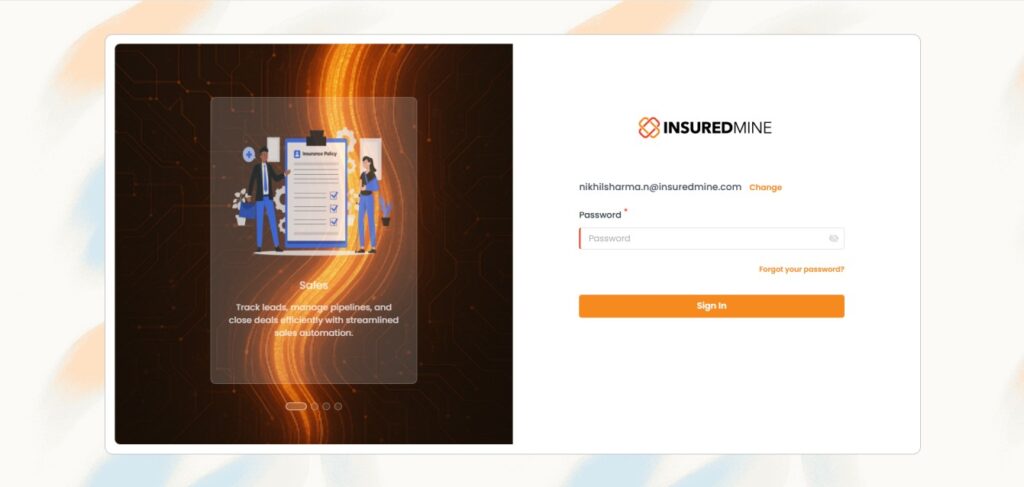
Enter your email address.
Click Continue.
Enter your password.
Click Login.
The user will sign in using the standard email and password authentication.
Notes
Customize SSO is available only for agencies that have SSO enabled.
Enabling Customize SSO automatically enables SSO for all existing agents by default.
Admins can enable or disable SSO for individual agents at any time.
This feature allows agencies to use both SSO authentication and email/password authentication within the same organization based on individual agent preferences.