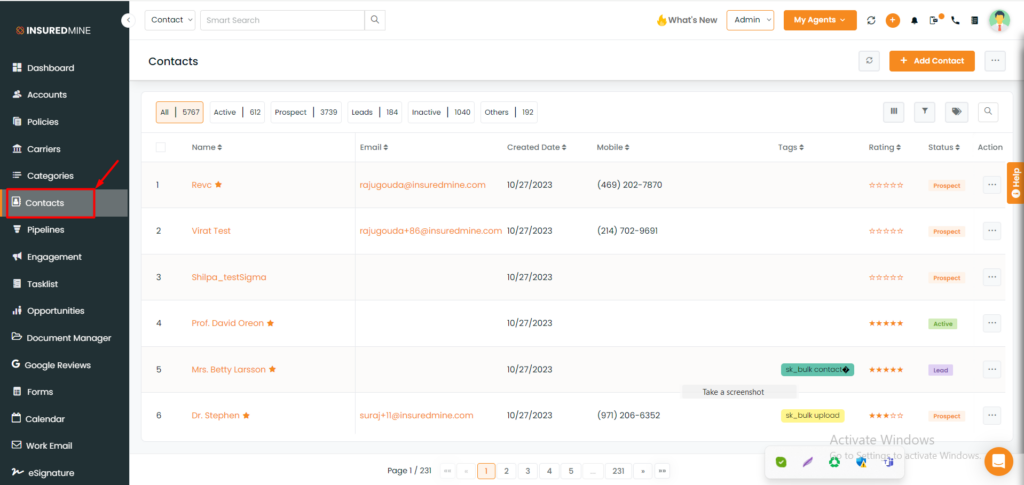
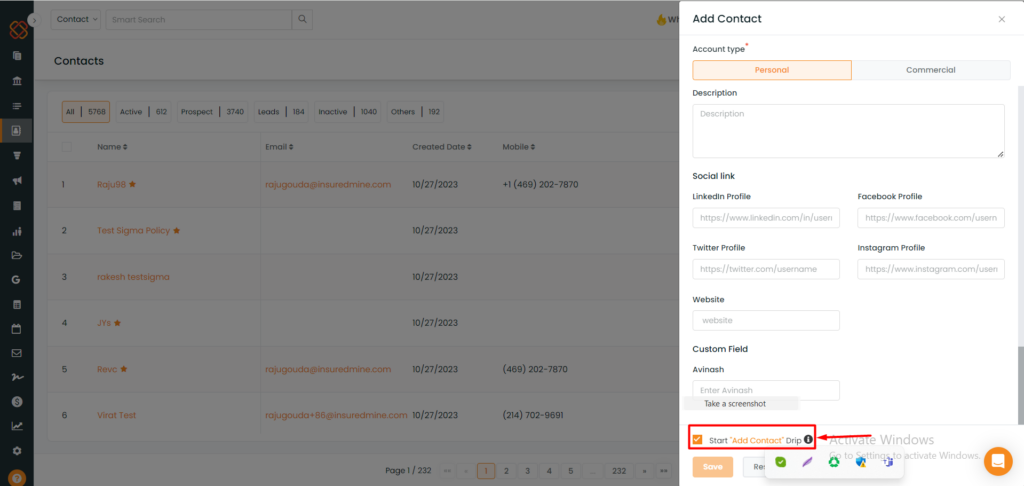
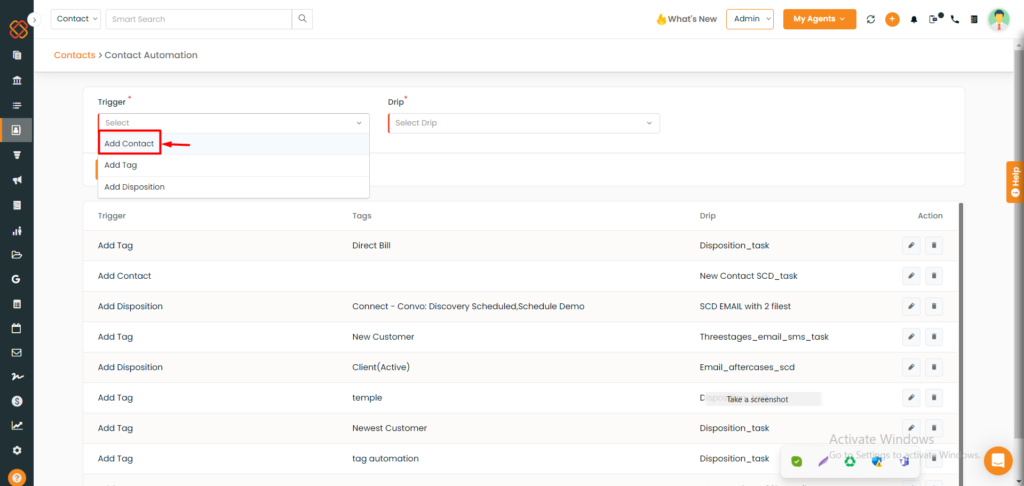
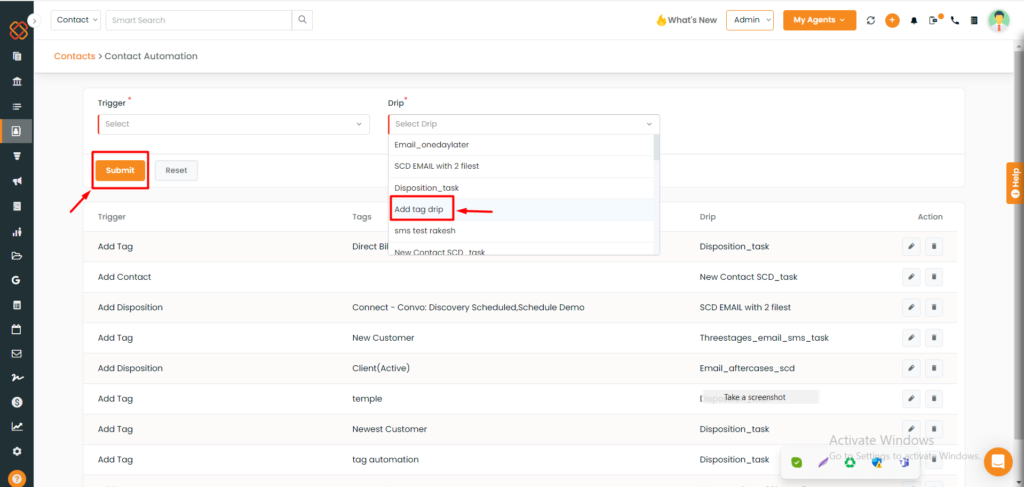
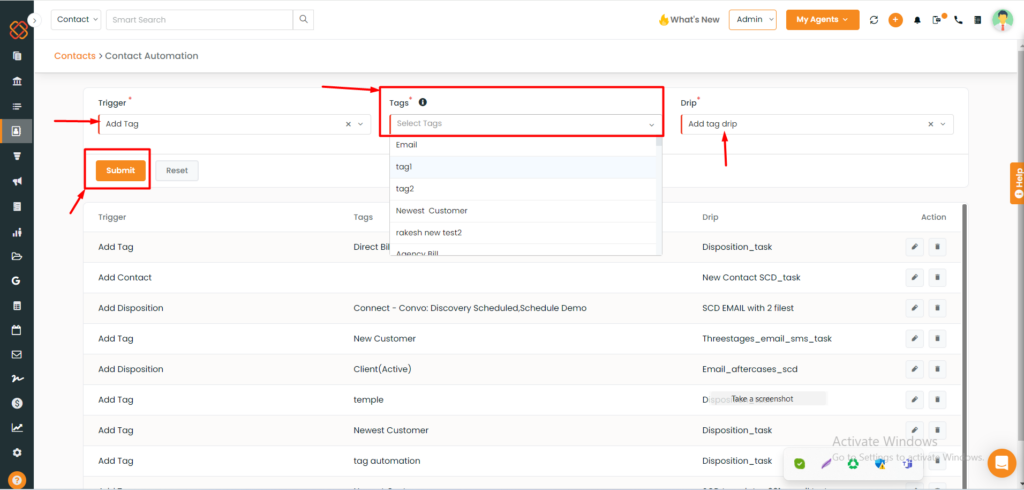
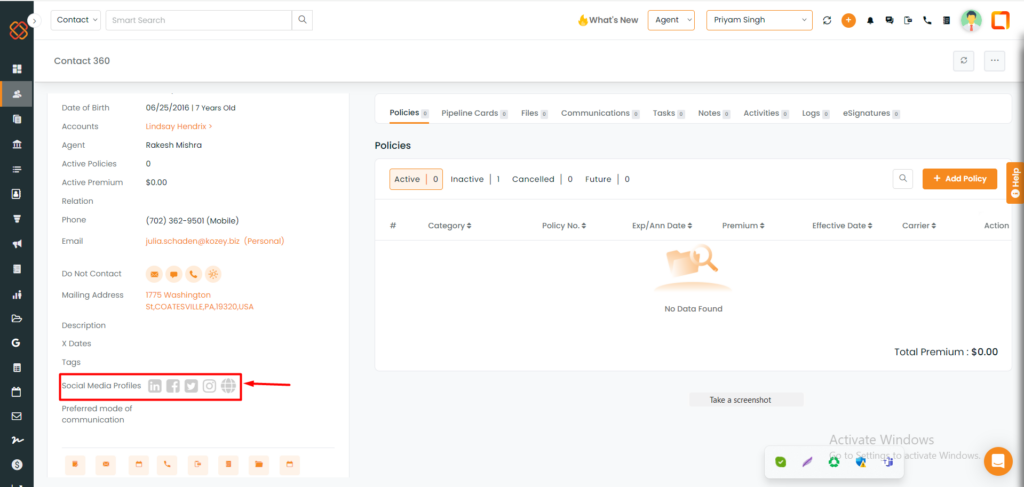
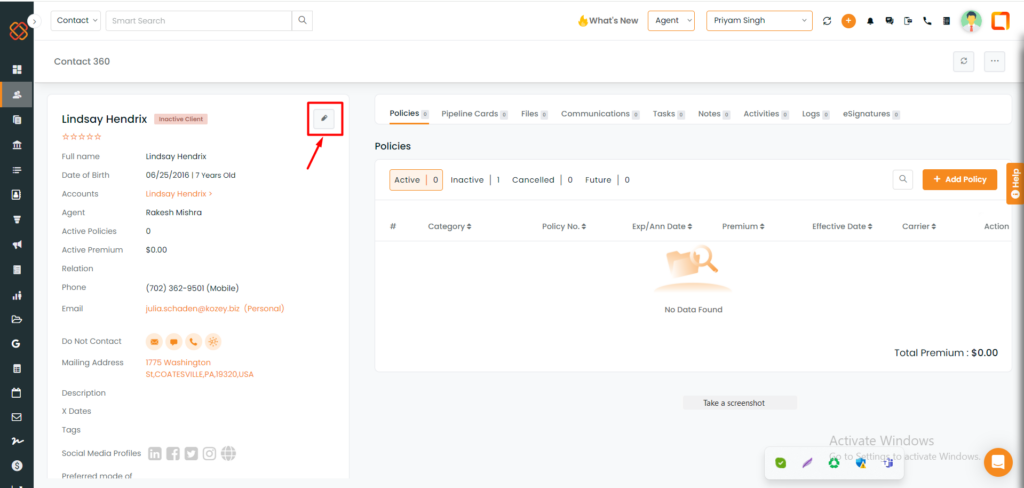
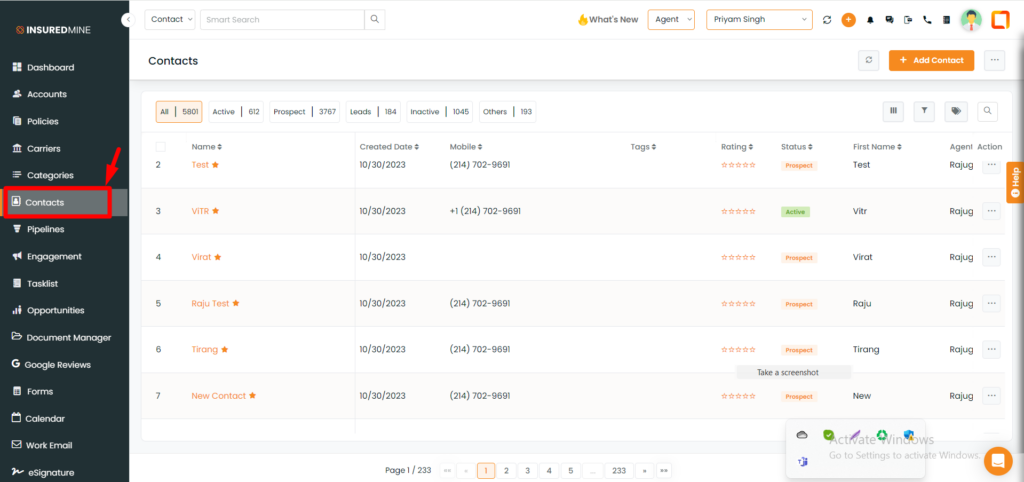
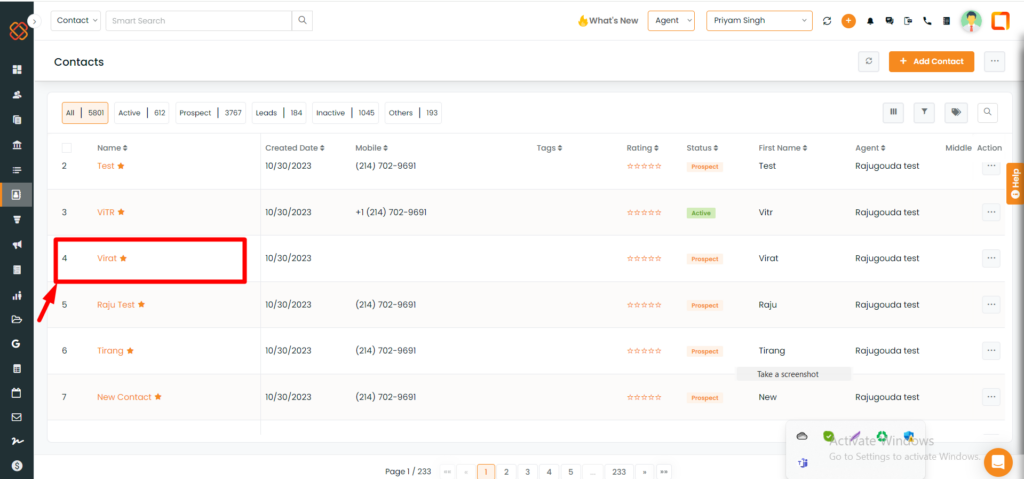
Easily access contact details and track their journey through all interactions and marketing optimization, all in one place.
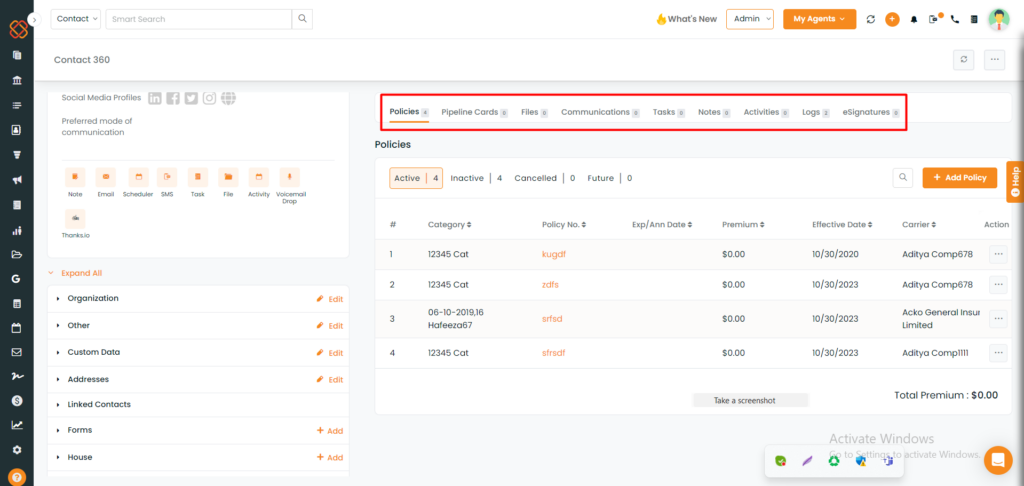
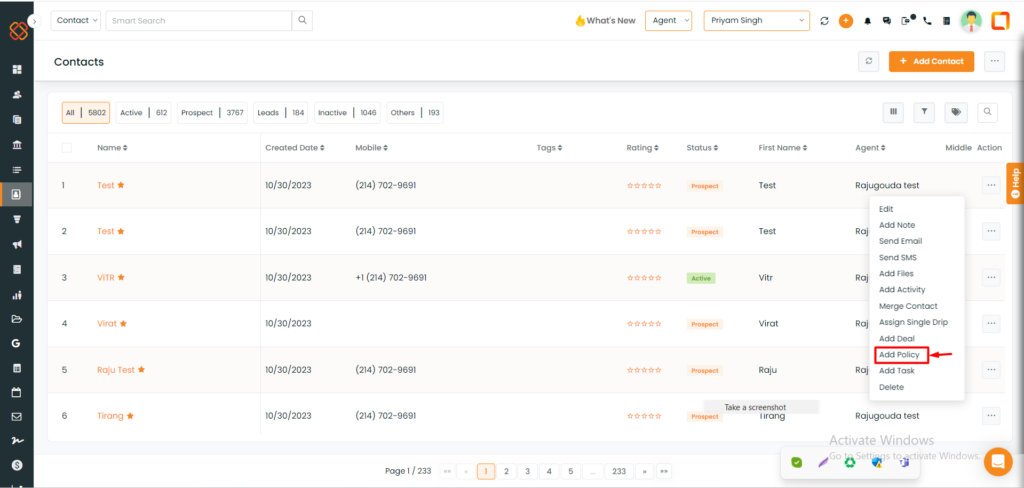
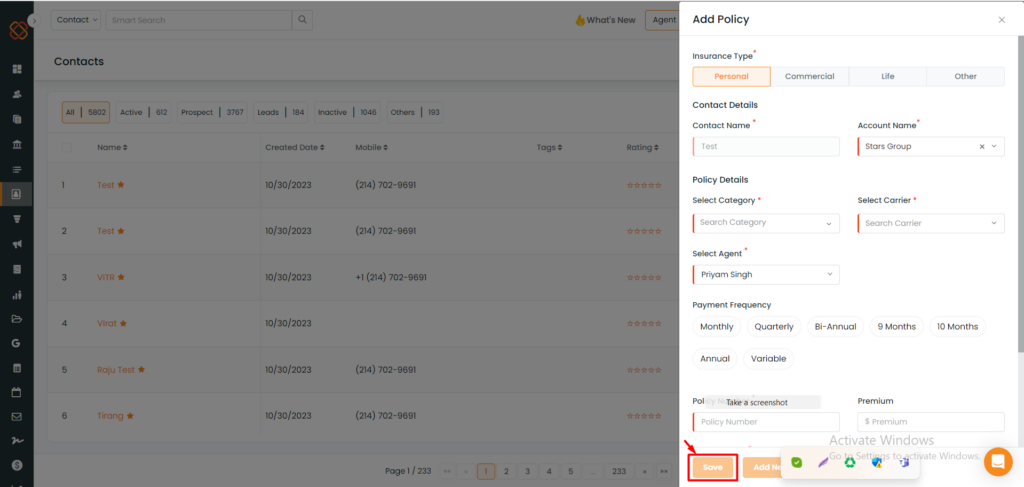
Policies: Get a clear view of a contact’s policy details, including the number of policies held, active policies, expired policies, and premium value, to gauge client potential.
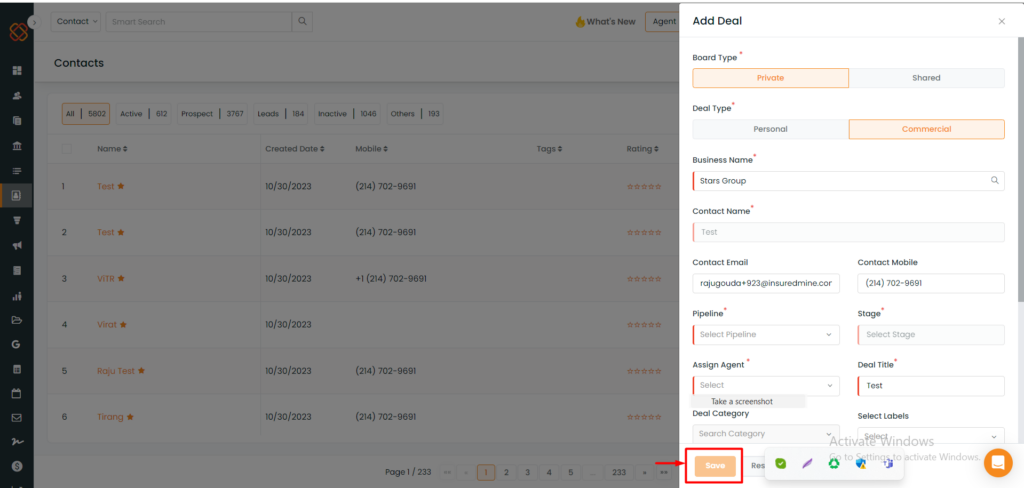
Pipeline Cards: In the “Pipeline Cards” option, you can view the information of a particular contact, such as Deal Title, Pipeline Name, Created At, Assignee, Premium, Revenue, or add a deal.
Files: Access all documents associated with the contact, including those shared by the contact and uploaded from your end.
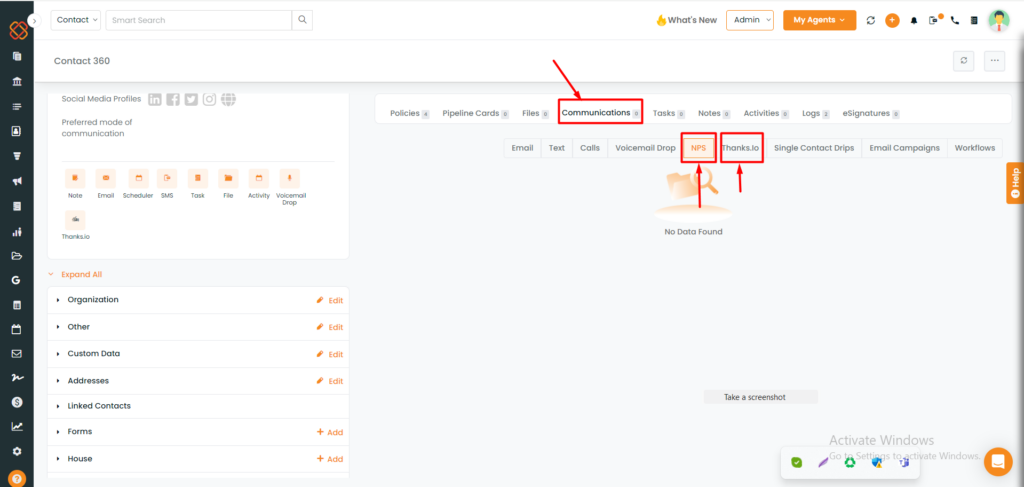
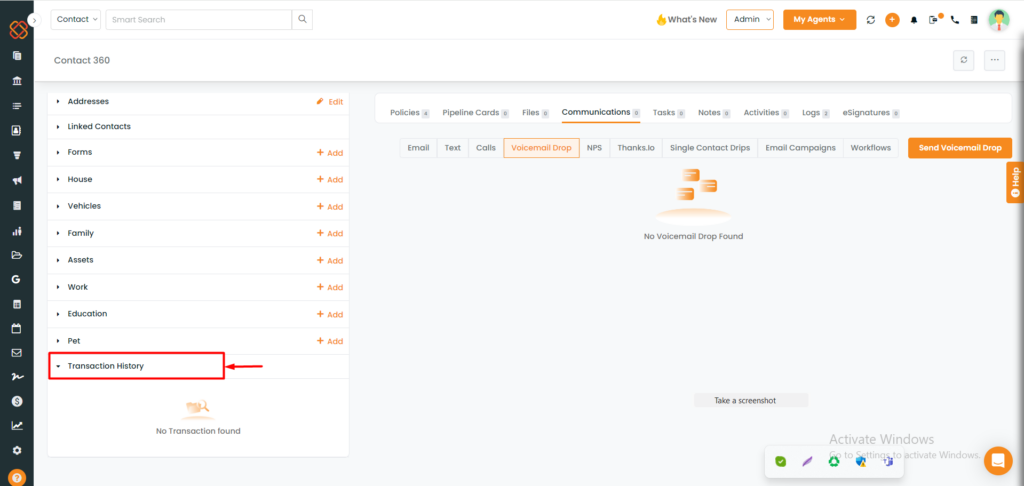
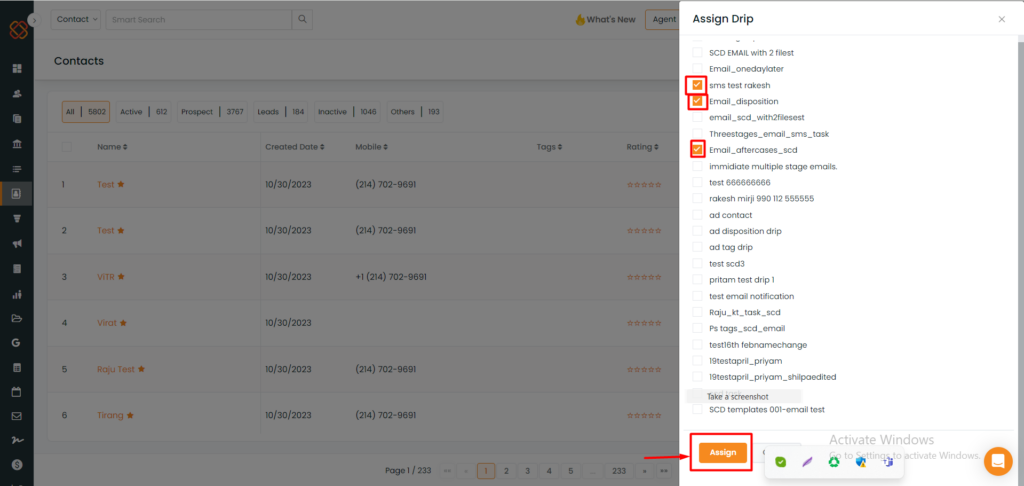
Communications: Review all email/text campaigns sent to the contact, analyze campaign performance, and adjust marketing strategies. Cancel email deliveries if needed.
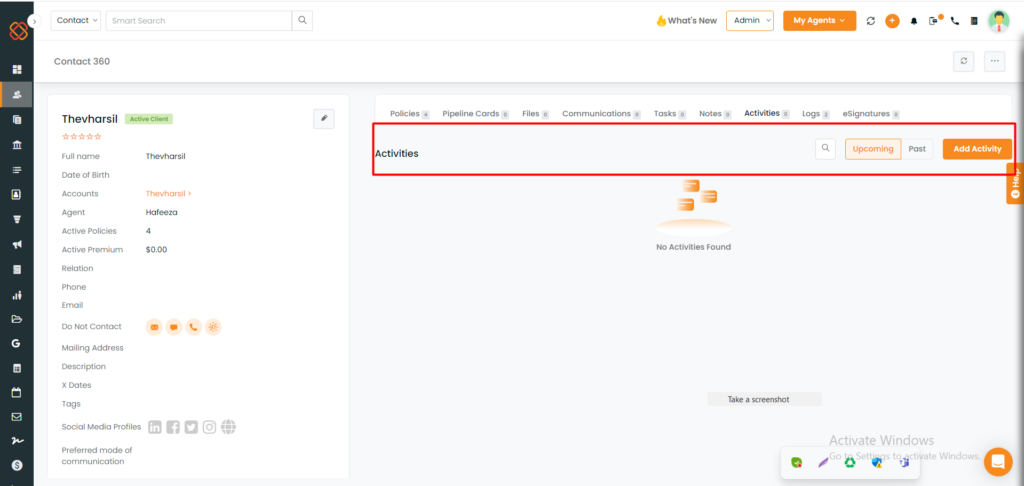
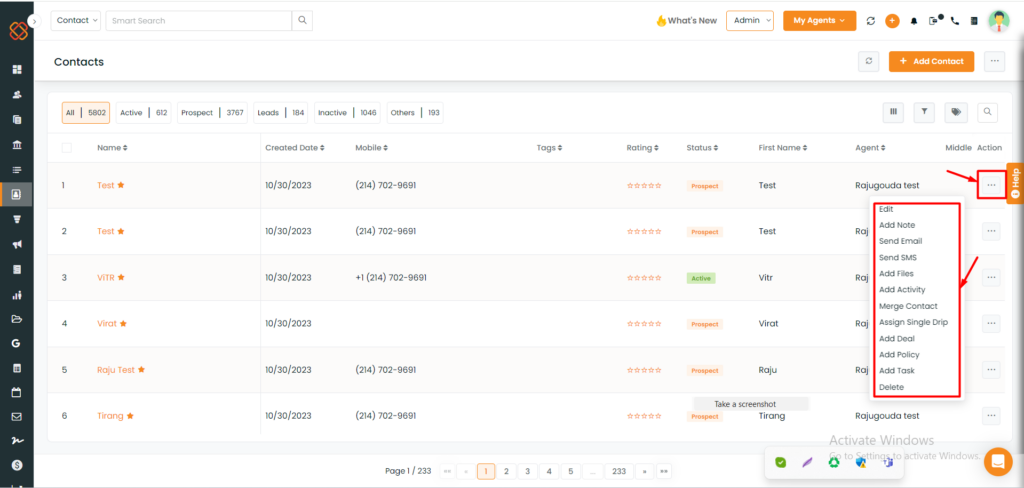
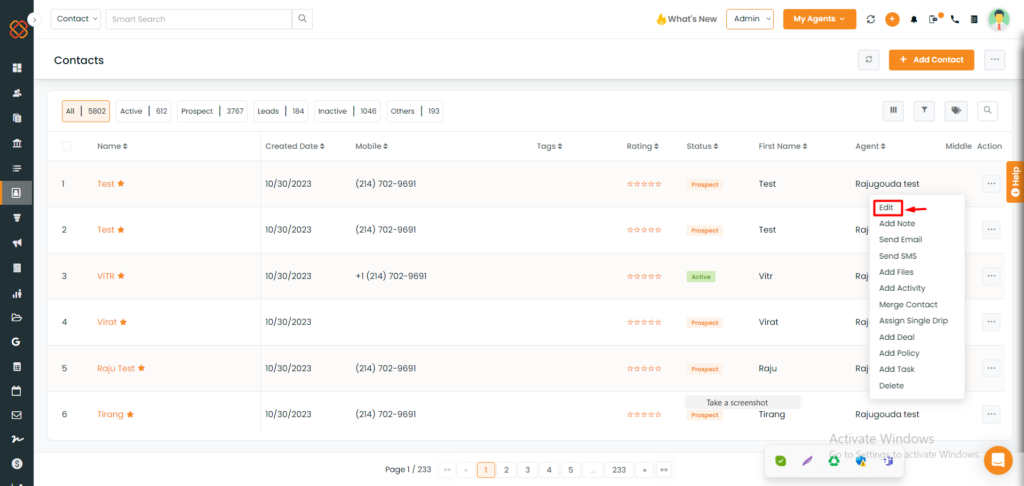
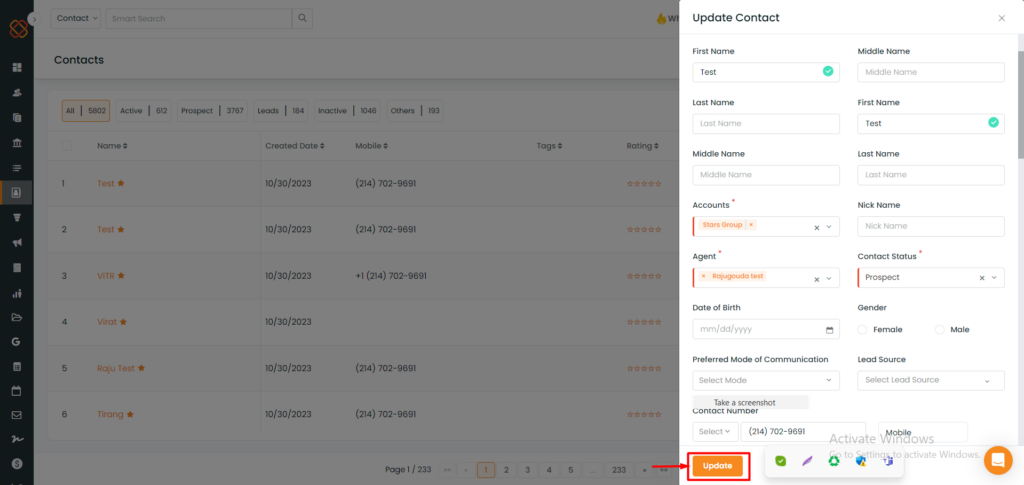
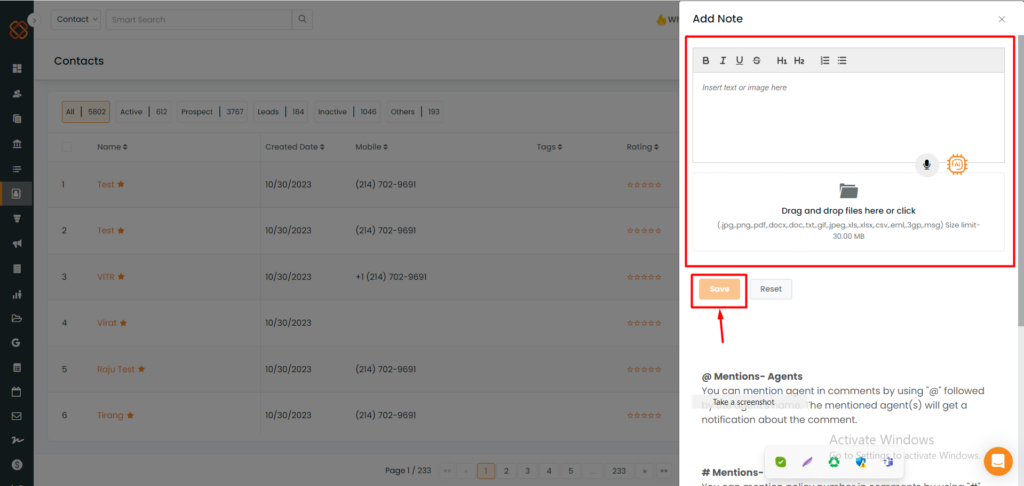
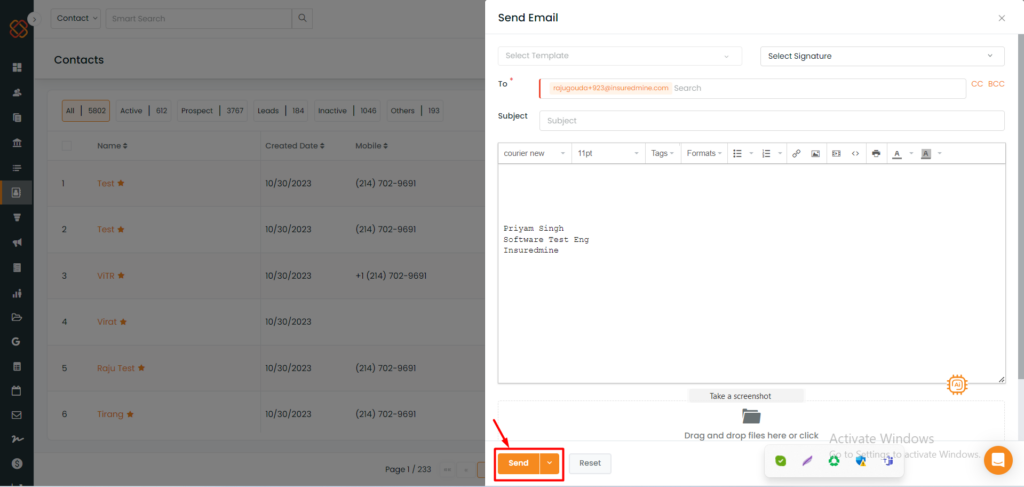
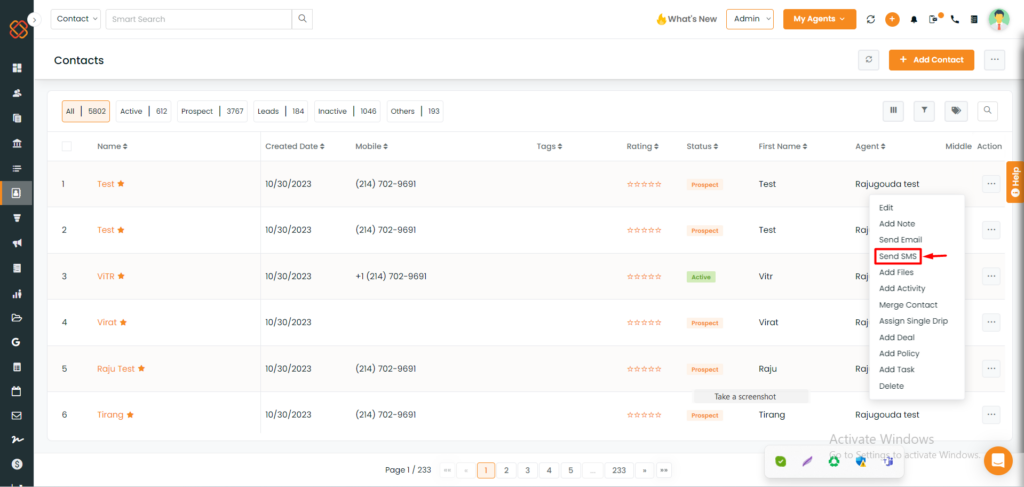
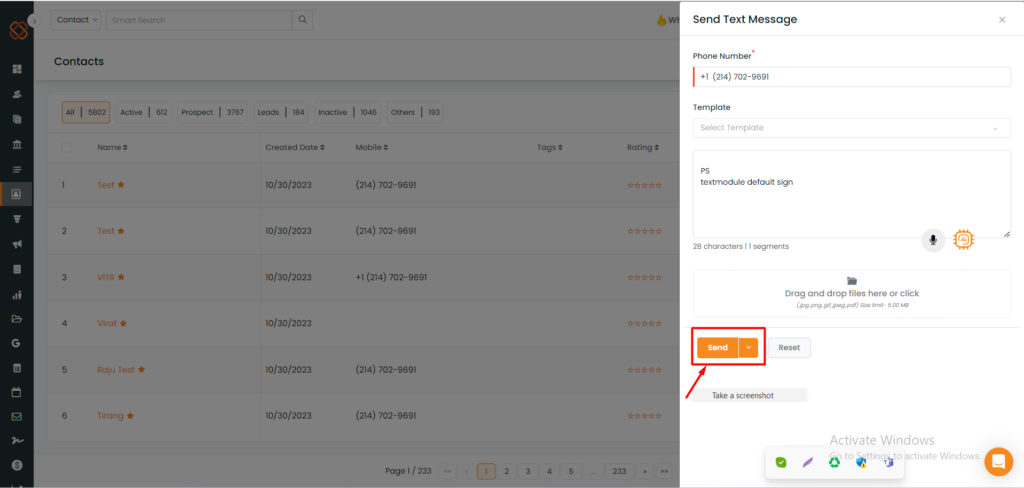
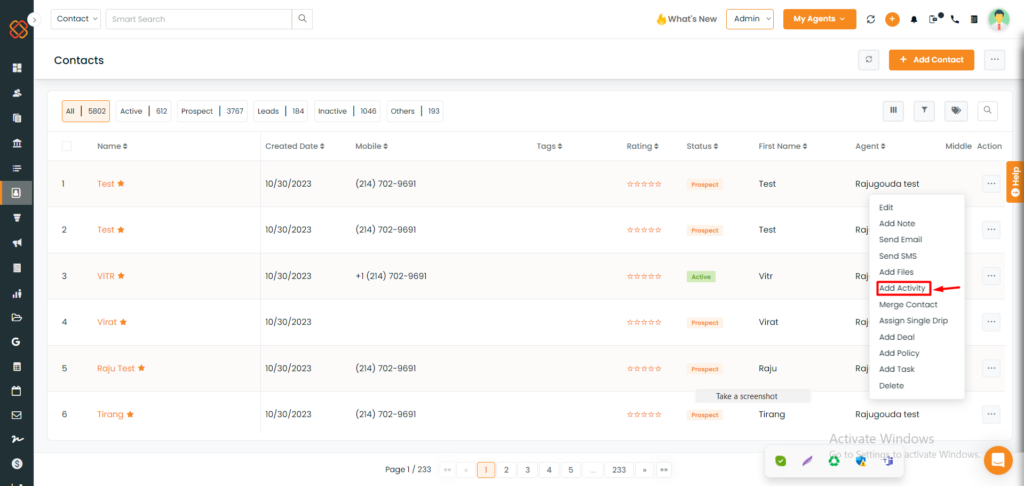
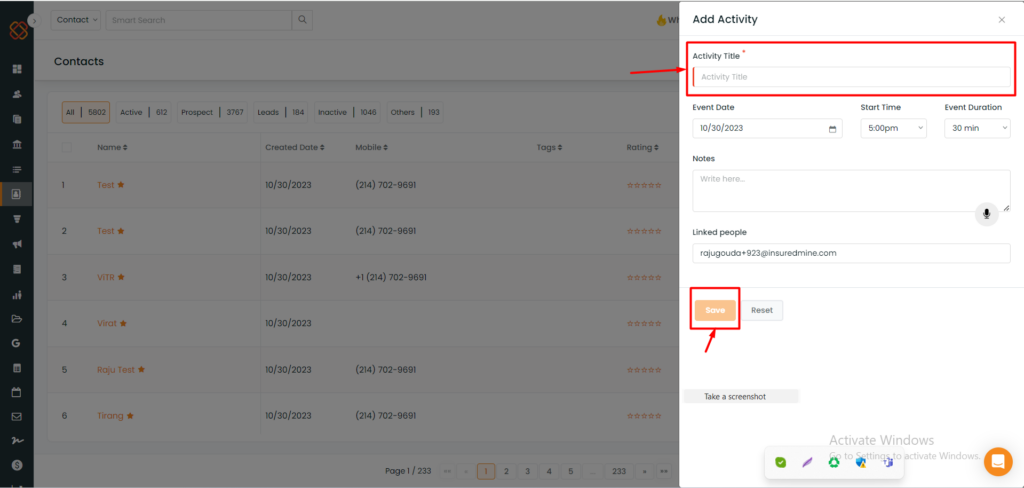
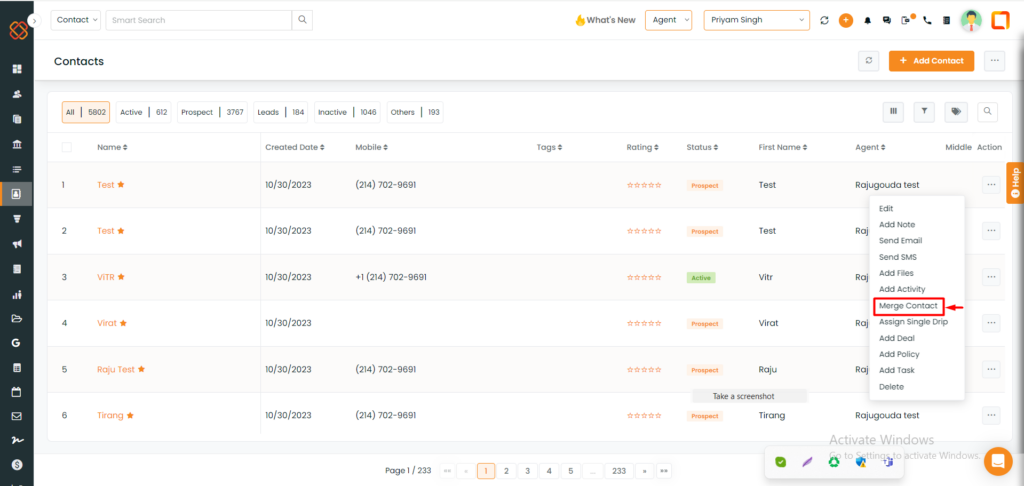
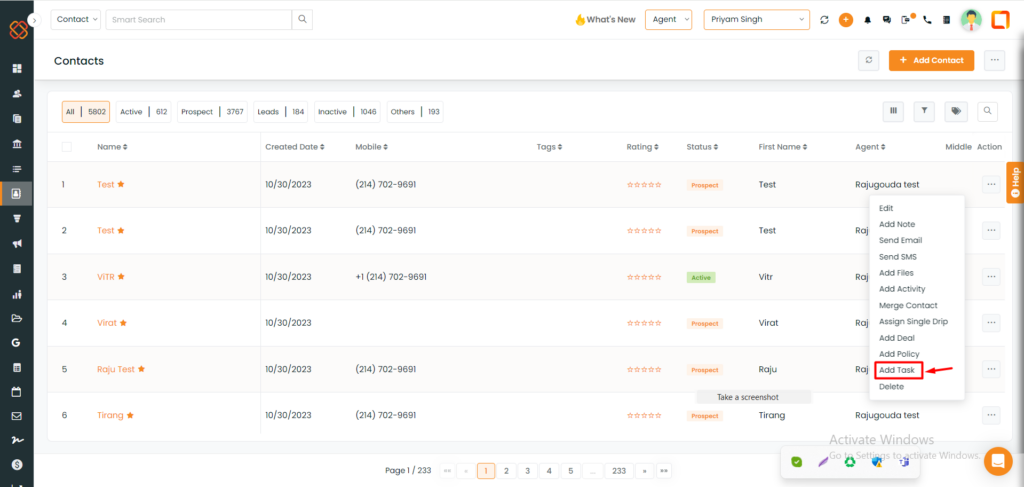
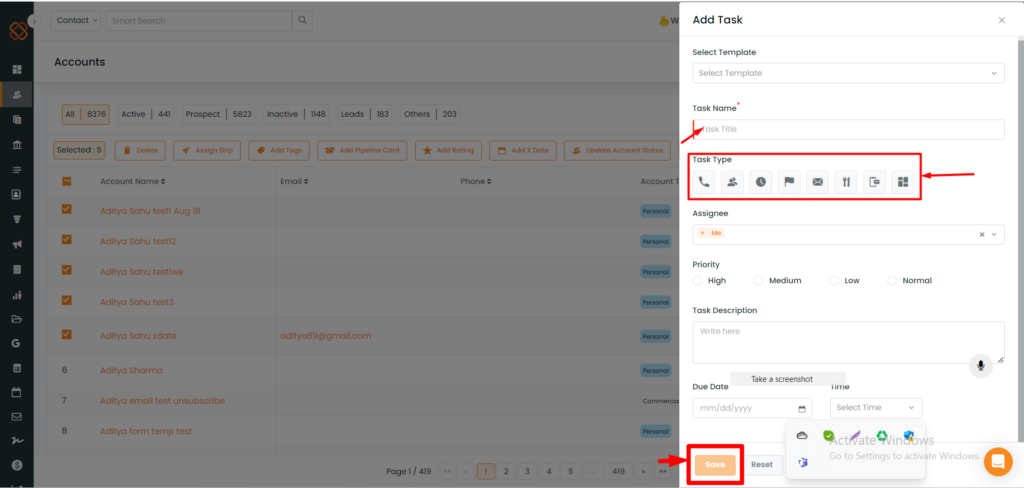
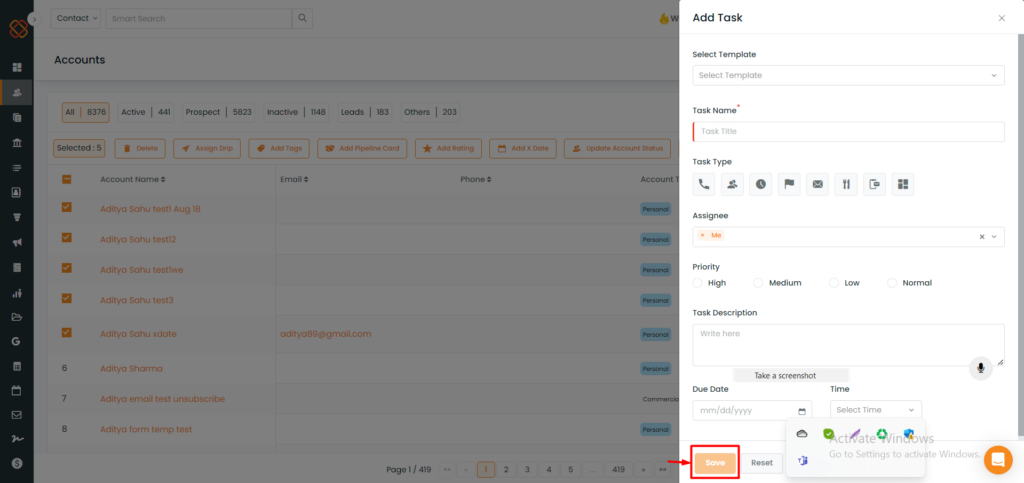
Tasks & Notes: Manage tasks, add notes, send emails, schedule meetings, and more, all in one place, eliminating the need to switch between applications.
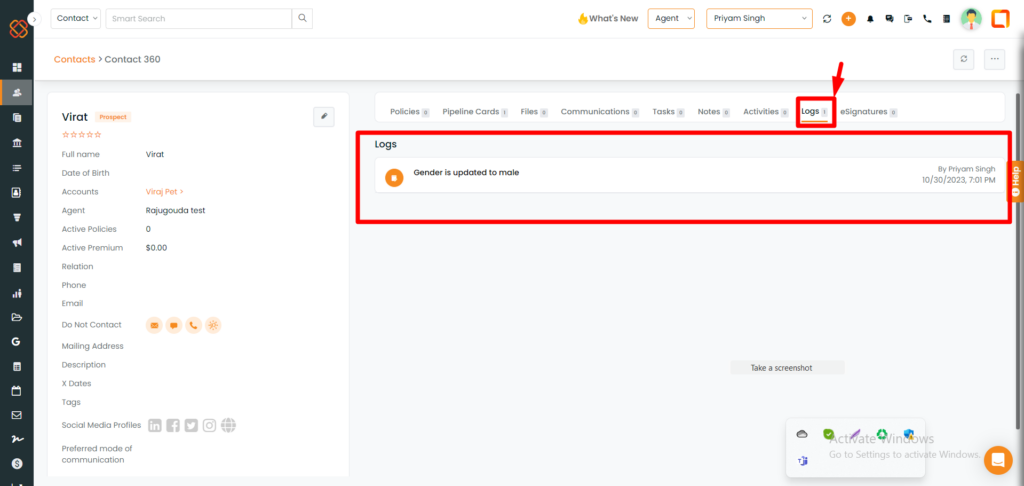
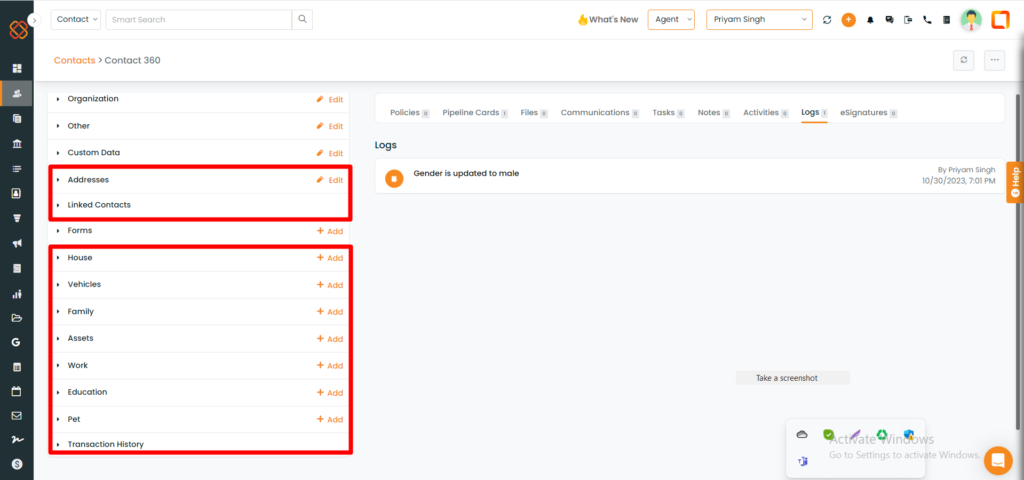
Logs: Keep a record of all actions for easy reference.
E-signatures: Select the ‘E-Signatures’ option to access Title, Document Name, Agent Status, and Created At information, as well as perform actions.