esign in other modules, Pipeline Automation and Workflow
eSignature as an Action in Pipeline Automation
April 3, 2026
Release Date: 3 April 2026
We have introduced a new enhancement in the Pipeline module that allows you to send an eSignature in Pipeline Automation. This enables agents to automatically send documents for eSignature as part of their workflow, reducing manual steps and ensuring faster processing.
Use Case: This ensures that necessary documents are sent for signature without delay, helping agents streamline the process.
To view the enhancement:
Note: Before configuring eSignature automation in Pipeline Automation, create the template in the eSignature Module that will be used to send for eSignature.
Steps to create the Template:
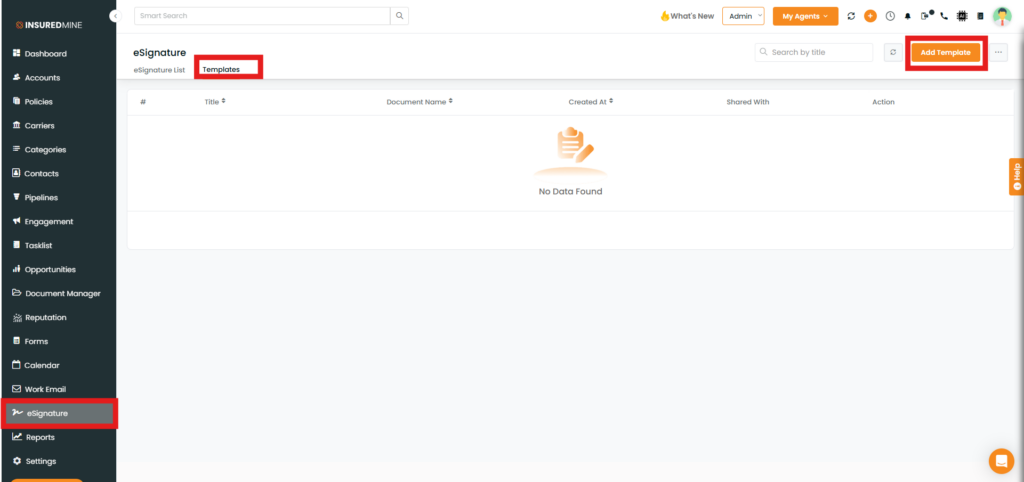
Navigate to the eSignature.
Click on Template.
Click on Add Templates.
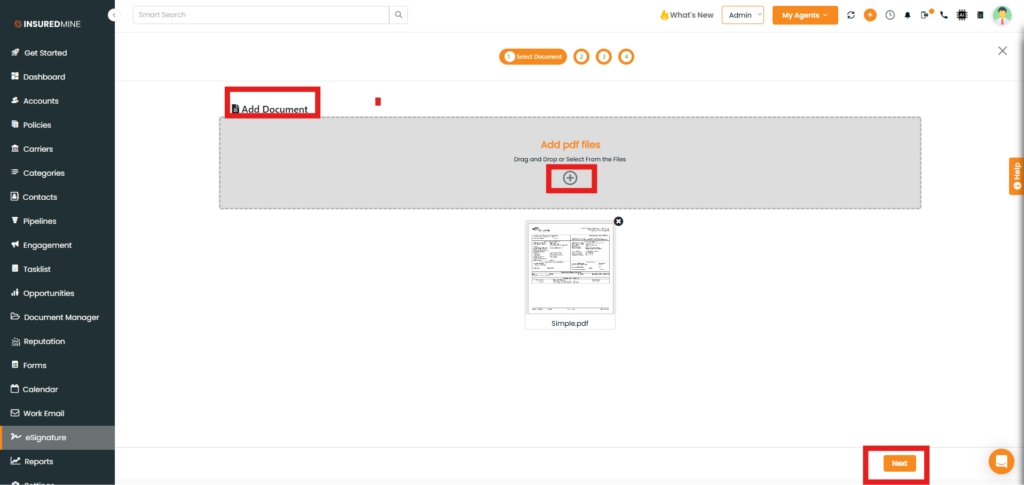
You will be redirected to the Add Document Page.
Click on Add files.
Click on Next.
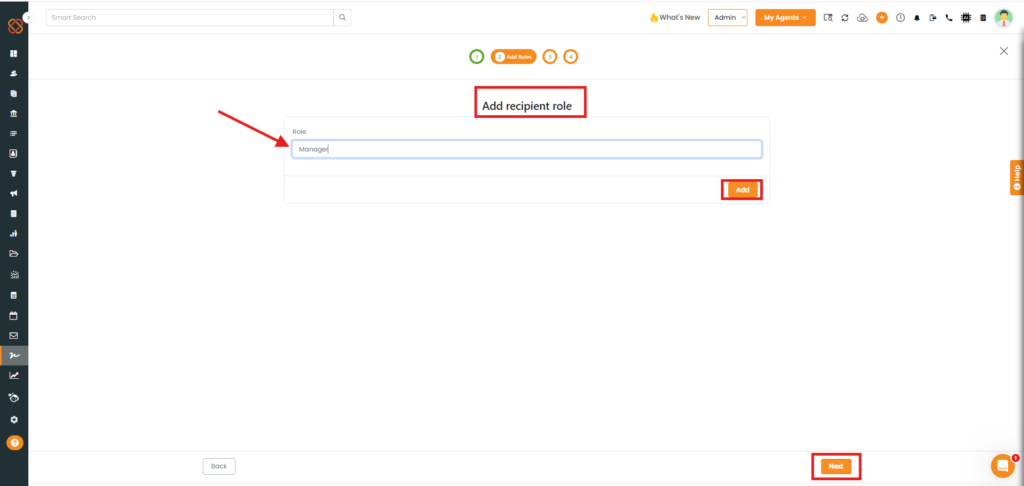
In the Add recipient role section, enter the recipient role name in the Role field and click Add.
After adding the role, click Next to proceed.
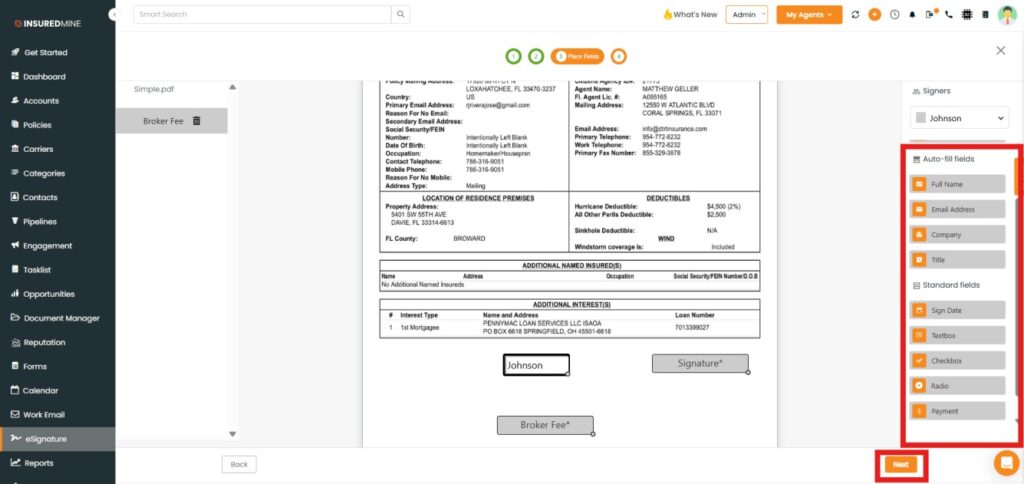
You will be redirected to the place fields page.
An Auto- fill fields panel appears on the right-hand side.
From there, drag and drop the required fields onto the file.
Click on Next.
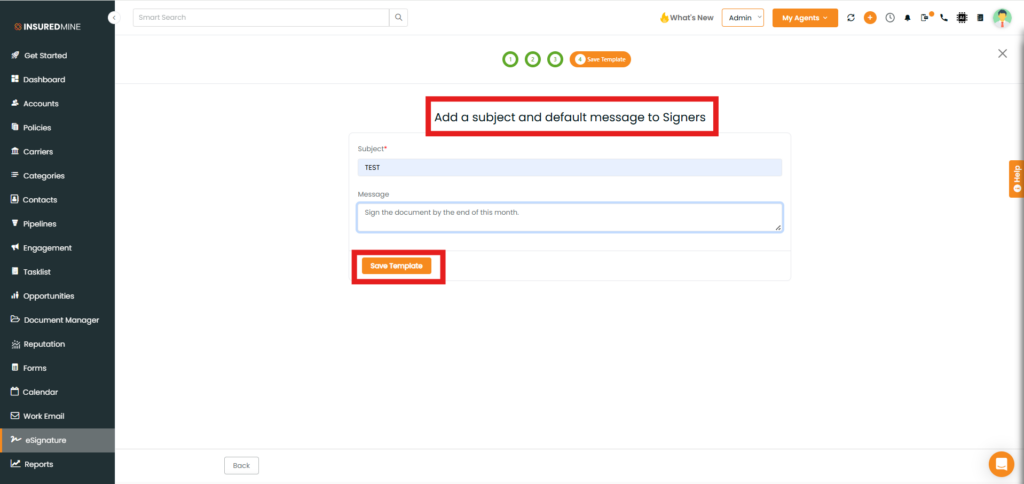
You will be redirected to the Save Template Page.
Here, you enter the subject and message for the recipients.
Steps to configure eSignature in Pipeline Automation:
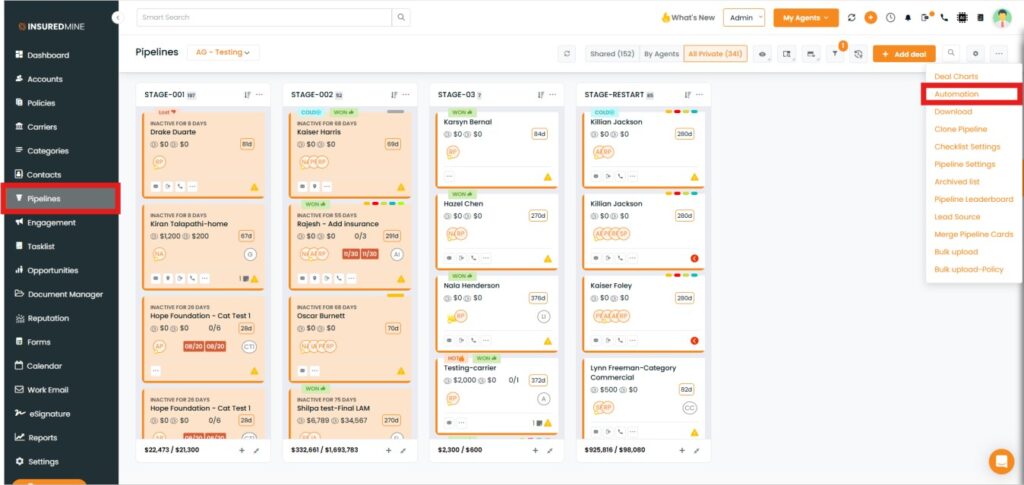
Navigate to the Pipeline.
Select the Pipeline in which you want to set the Automation.
Click on Automation.
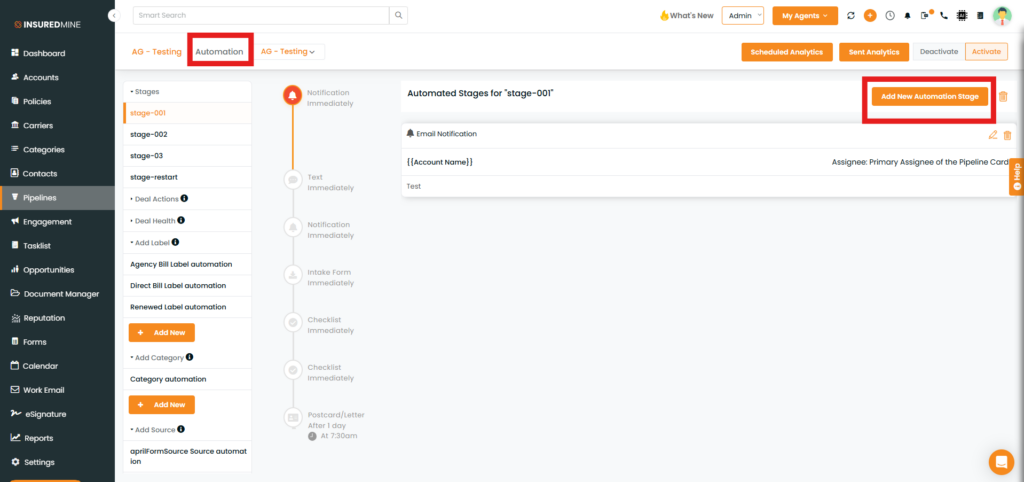
You will be redirected to the Automation Page
Select the Stage in the left corner in which you want to set the Automation.
Then, Click on the Add New Automation Stage.
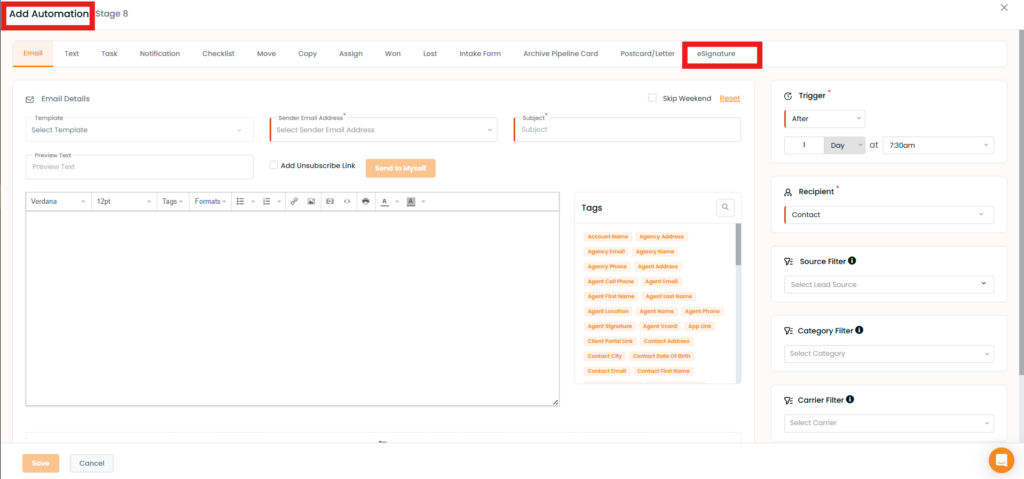
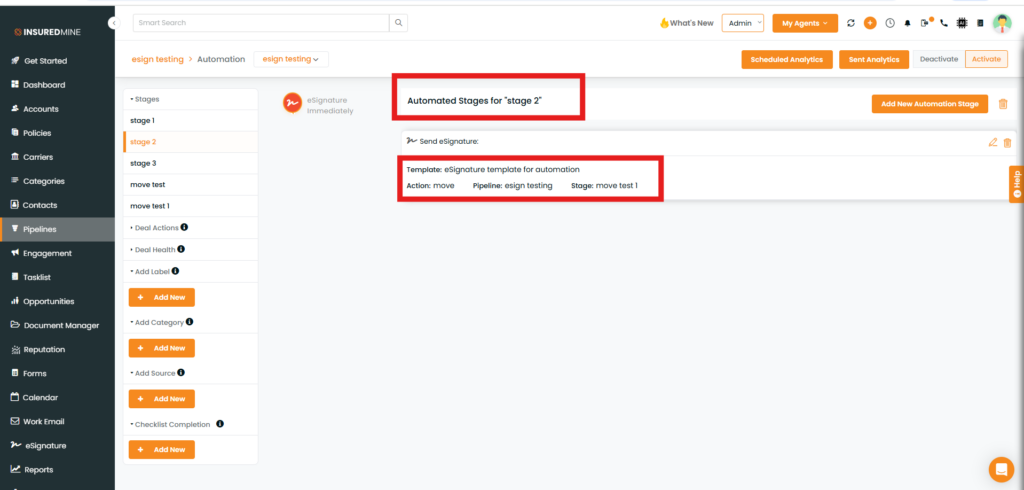
You will be redirected to the Add Automation page.
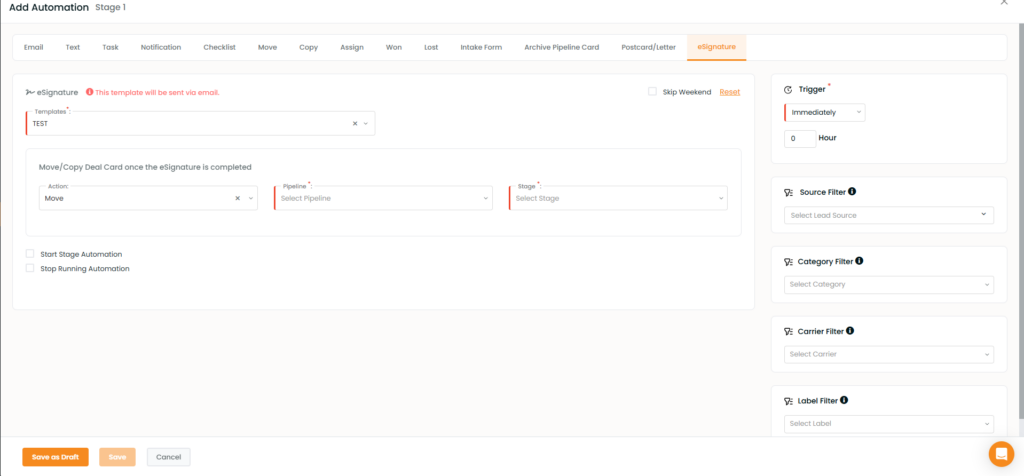
Click on the eSignature.
You will be redirected to the eSignature Automation page.
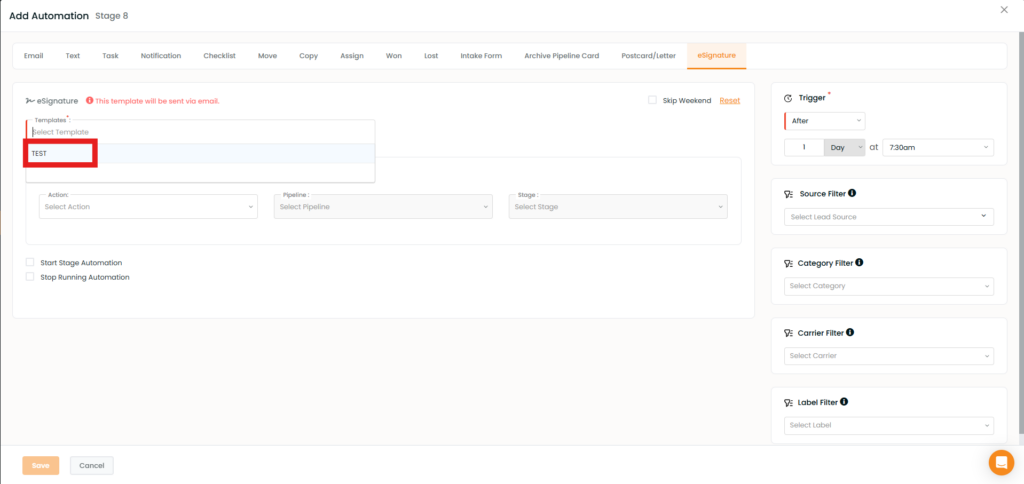
From the dropdown, you can select your saved templates, which have been created in eSignature Templates.
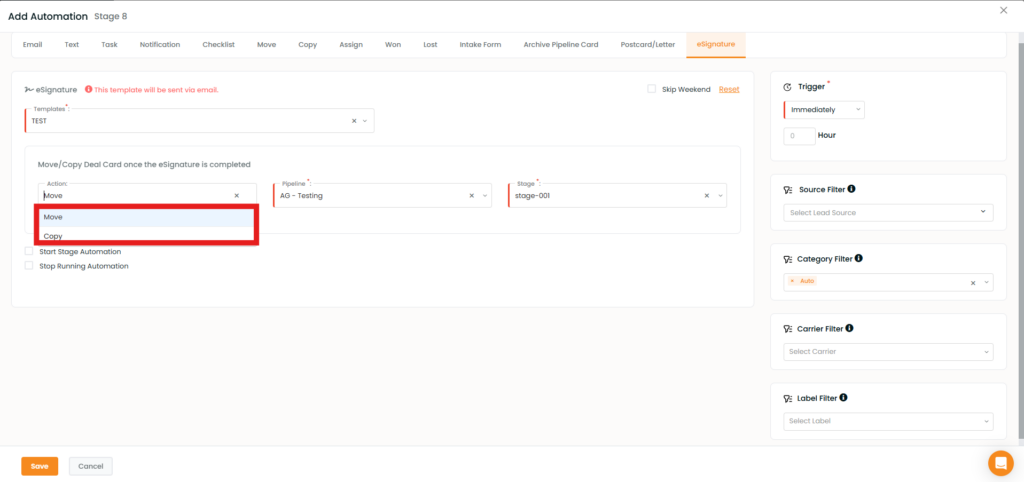
As shown below, you have the option to move or copy the deal card once the eSignature is completed.
“Select the Move/Copy action and choose the Pipeline and Stage where you want the deal card to be moved or copied once the document is completed. After this action is set, the deal card will automatically move or copy to the selected Pipeline and Stage upon completion of the eSignature document.”
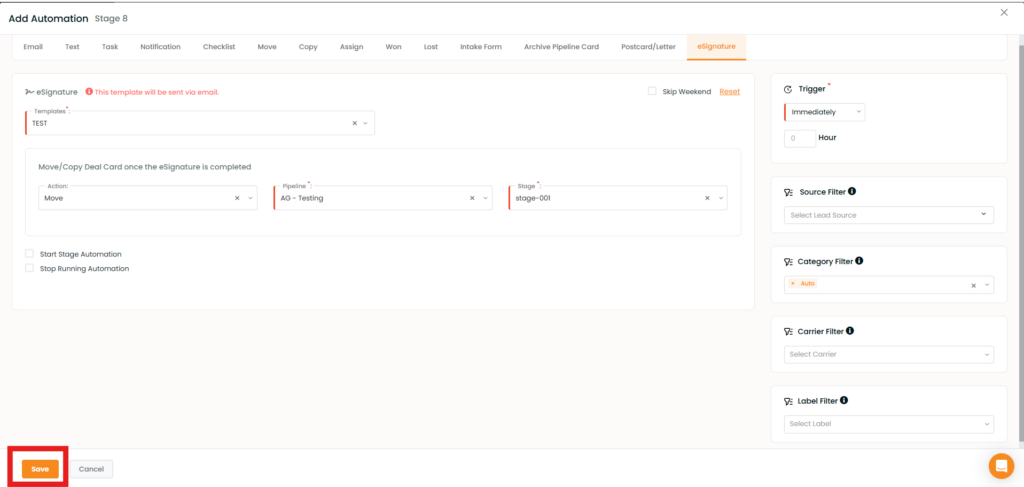
Fill in the required mandatory fields and click Save.
Once saved, the eSignature automation will be configured.
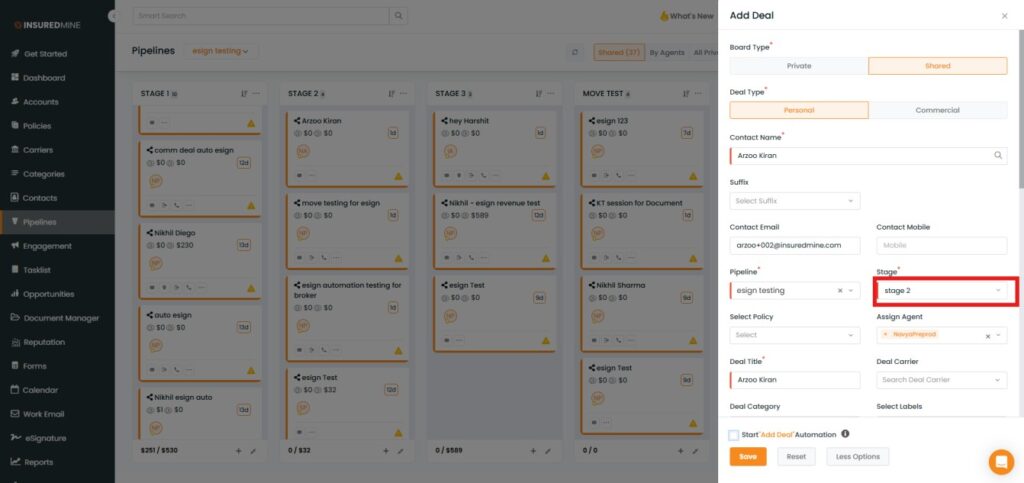
Create a deal Card and add the details.
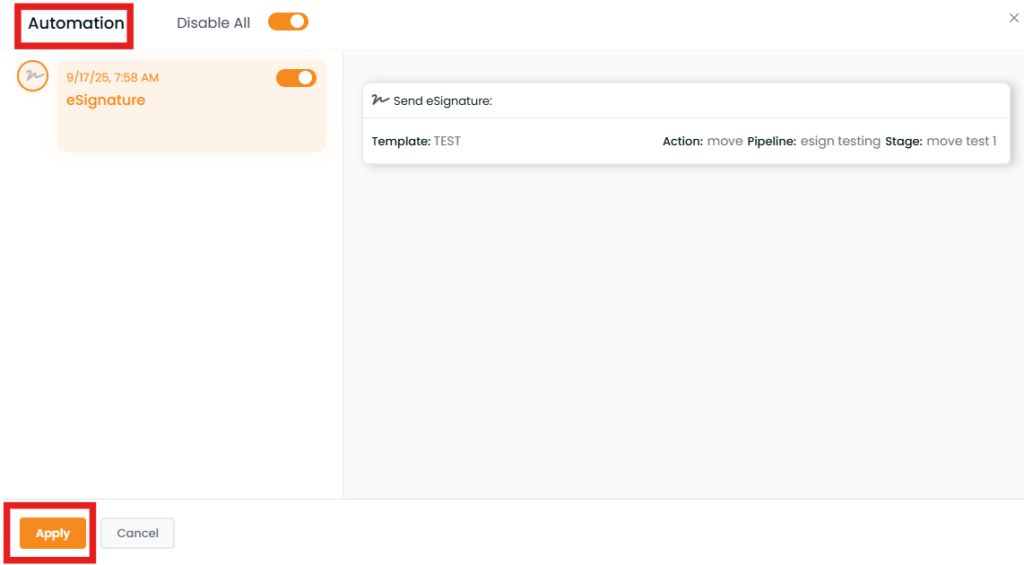
Finally, to trigger the e-signature automation, create or move the deal card in which the e-signature automation has been set. A pop-up will appear—click Apply.
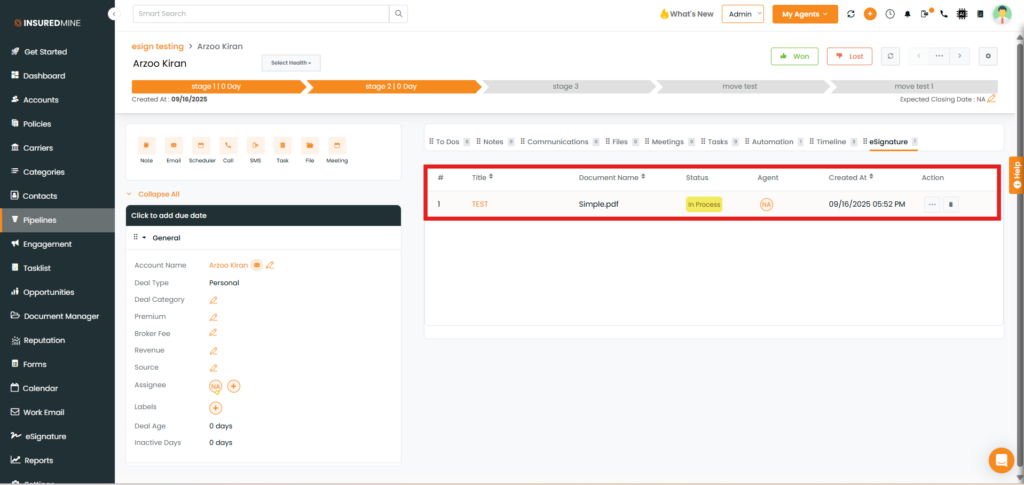
You can view the e-signature status by clicking on the deal card detail.
Note: After the automation is applied, once the client signs the document, the card automatically moves to the configured stage.