- Navigate to the engagement section .
- Click on automation .
- Click to create.

One is the default mode for that start default automation button is provided. Just click on it to start the automation in the default mode.

Please note: The default automation mode is the email mode that will go to the active clients’ list and will go after four days of x-date. Click yes to start it, or to customize the automation, click on the cancel button and go to the customization page.

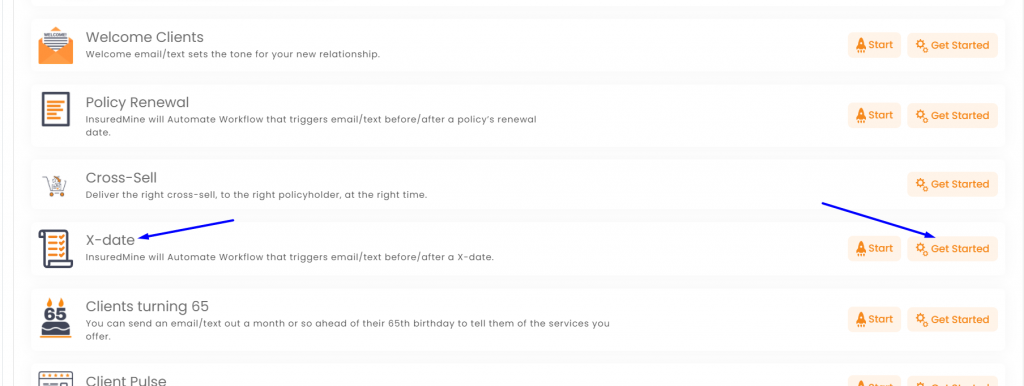
To set and start customized automation on X date:
- Click on get started.

A sheet will open where the other details need to be filled. The details that are to fill in are:
- Fill in the workflow name.
- Select the modes to send the workflow- (email, text message, postcard/ letter (thanks.io), task, reminder) .
- Select the list of contacts– (all, active list, inactive list, prospect, other, lead) .
- Set the trigger as before or after .
- Fill in the days (i.e., the number of days prior or after the X date. The campaign/ automation will start accordingly) .
- Once all the details are filled, one can save the draft by clicking on the save button or click Begin to get started..

You can include Policy Category while creating workflow for X-Date, so the created workflow will trigger for the X-dates that fall under the selected category.
To apply the policy category:
Navigate to Engagements and click on create Automation.
Select any of these workflows: X-Date
Click on Get Started
You will find the option to include a policy category.
Fill in the required fields and click on begin to start the automation.
- Click on the Draft
- Select the campaign if there are multiple automations in draft stages
- Click on the ellipsis (3 dots) in the action section.
- Click on edit.

- In case of any edits to be made, make the changes, and save them .
- In case the draft is finalized and no more edits to be done, one can move ahead to begin the campaign.

A slide will open with other details- stages, the mode selected, mail id/ contact form which campaign will run, a template that is selected, subject line, signature.

In the case of a text message campaign, one can add phone numbers from which the text to be sent.

Please note: an agent can select only his/her phone number, but an admin can choose any agent’s phone number
Note: While selecting the stages, one can select up to 8 stages by clicking on add new stage. Each stage will have all the above-mentioned details that are to fill as required. Upon confirming all these details, click on the next to review the workflow.
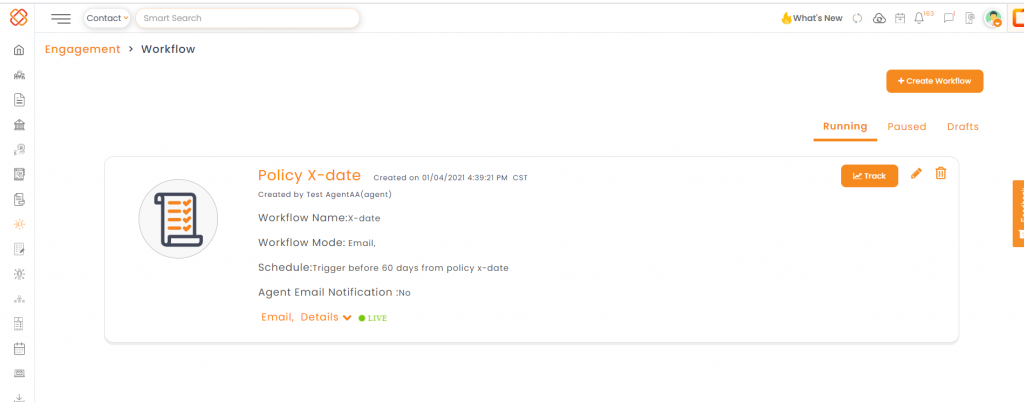
A detailed overview of the x date automation will be visible, including workflow name, workflow mode, drip stages, list of recipients, and tracking option.
If the agent requires notification, then click on agent email notification. The agent will get an email notification before three days of 1st trigger.
- Click on the start button to start the trigger.

- Once it starts, the campaign will move to the running section. Based on the details filled, a trigger will be created, and it will run automatically.

- One can pause the campaign whenever they want to.
- Navigate to the workflow section.

- Click on pause automation to stop the campaign immediately.

- The paused campaign will be displayed in the paused section.

Tracking of the workflow can also be done from the engagement section.
- Navigate to the engagement section.
- Click on analytics.

- Select the workflow that needs to be tracked·
- Click on the drop down of the running automation and click on the track button.


Note: One can keep track of the text and email mode, and it will provide a detailed view of the workflow.
- Date of trigger .
- Total number of recipients .
- Total email sent, opened, clicked, and bounced·
- Selected template, which can also be viewed by clicking the view template link provided in the sheet .

- Trigger : Every Day.
- Drip Stages.
- Contact Type (List)

- Click on the period display tab.
- Calendar will open .
- Note: By default it shows last 30 days, but you can customize by clicking on custom range.
- Select the dates from when to when the tracking is to be done.
- Once selected, one can have a view of all the workflows that triggered during that particular tenure.


