Follow the simple steps below and create a Happy Birthday automation workflow.
- Go to the dashboard of Agency Portal and click on Engagement.
- Under the Engagement Module, select Automation and click Create.
3. Select the Happy Birthday workflow and click Next.
In the workflow setup screen that appears, Add or select the following:
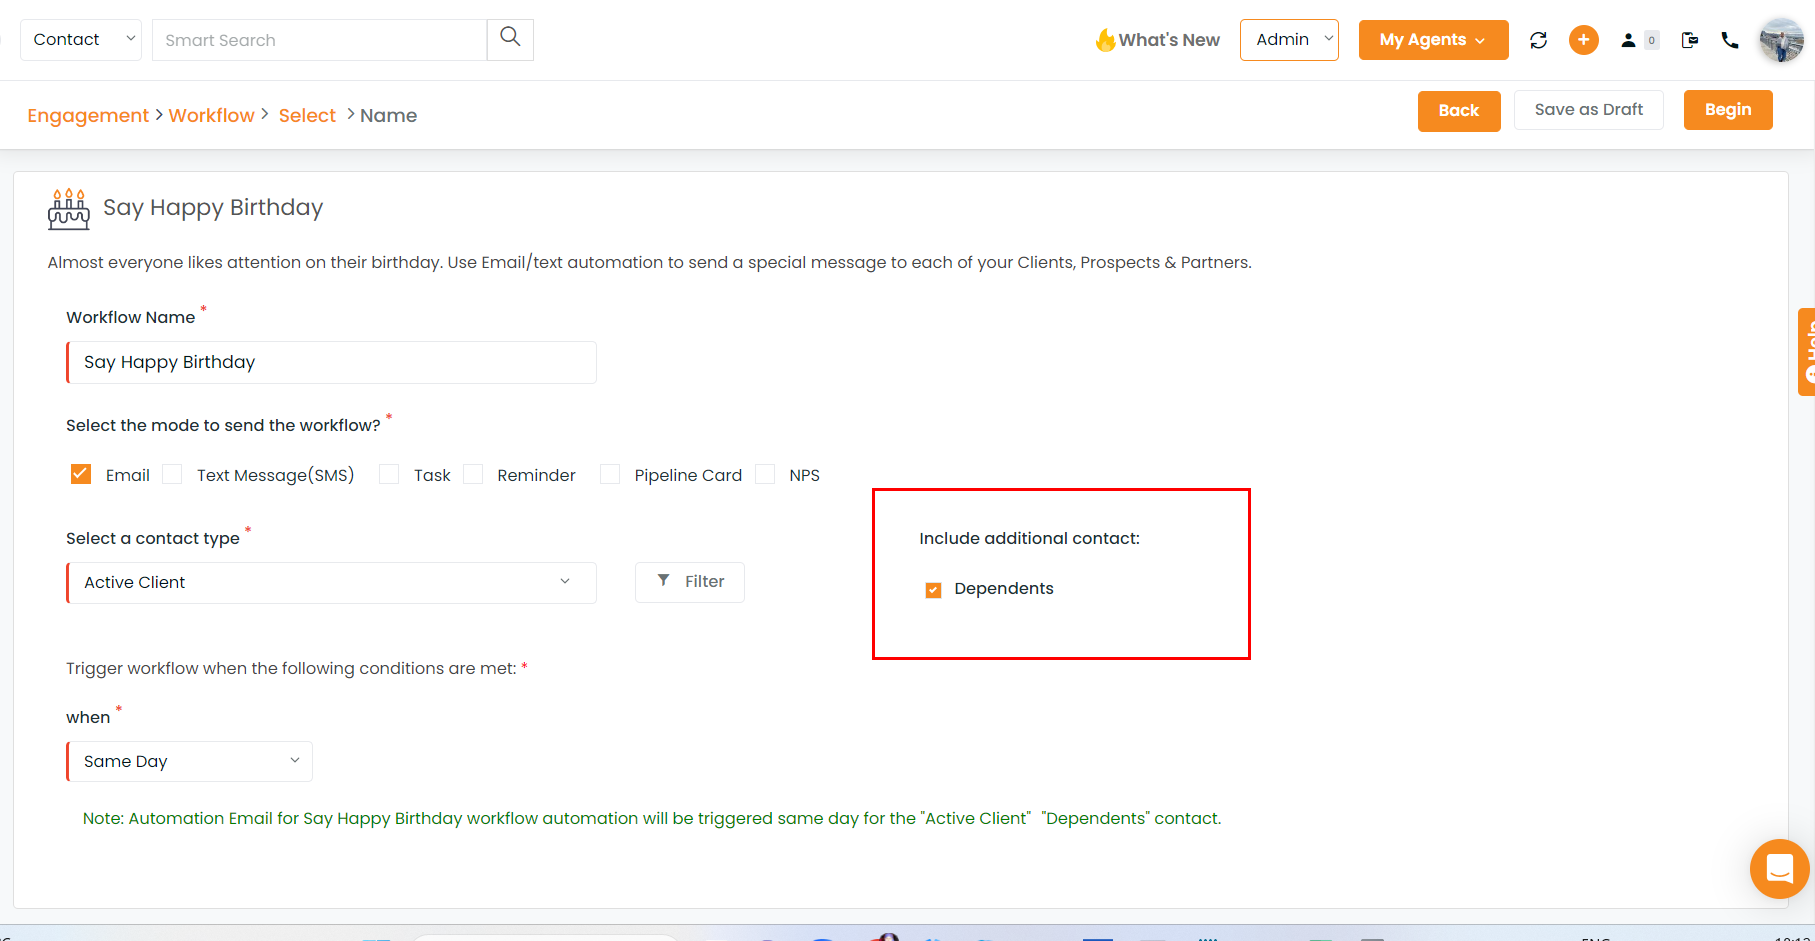
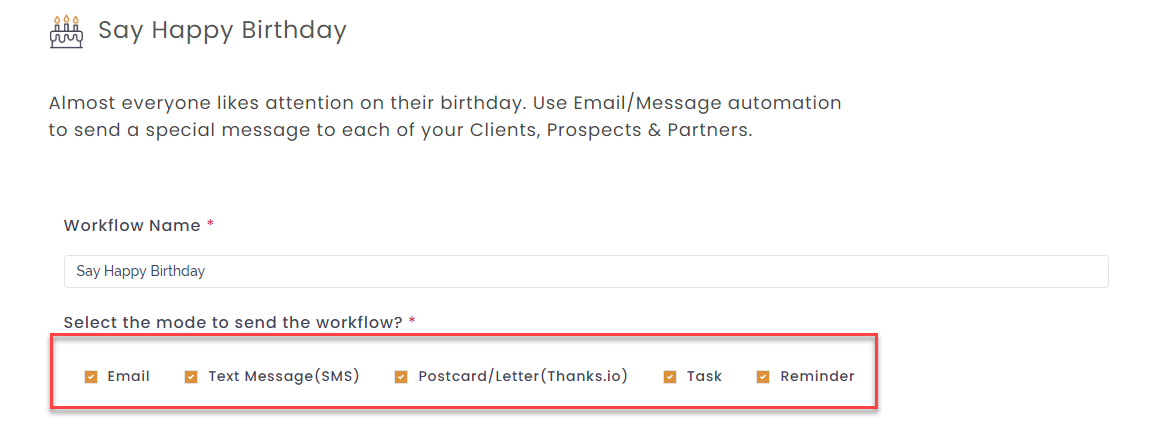
- Workflow Name: Add suitable campaign name, based on line of business, client type or any other name which has relevance and quick recall.
- Select the mode to send the workflow (email, text, postcard/letter (thanks.io), tasks, reminder): To start a campaign for all modes or select particular modes, click on checkboxes for each mode you wish to activate. Orange indicates selected.
- Select a list: To address campaigns to any type of contact such as Active clients, Inactive clients, Leads, Prospects, others, select from the drop-down list. You can also click on filter to make a more specific list of recievers.
- Trigger workflow when the following conditions are met: To set the trigger for delivering the messages on the right day, select Before, Same day or After.
Click Next to start designing the Birthday workflow. The steps to design workflow are mentioned below:
1. Select the sender phone number and email id in From Number and From Email fields.
2. Select the mode of workflow from Email, SMS, Postcard/letter, Task and Reminder.
3. Select template, you can create customized templates through template builder.
4.Type your message and add relevant tags from the right Tag segment.
5. Click Add new stage on the left to send a series of messages and fill the information you wish to share at each stage .
6. After adding relevant stages, click Next to review the workflow.
7. Click Create
Note : When you select Task mode, you will notice some changes in the fields. Enter the task name, select priority, add assignee agent name. The task is also added to the task list of the agent portal for the respective agent. Refer to the sample image below for more clarity:
 Note: When you select Reminder Mode, a reminder email notification is sent to the assigned agent. Enter the data in all the relevant fields, select templates, add subject, add signature, select agent name to whom you wish to send a reminder in the Assignee field.
  Use case for Trigger Days : Consider the case when the birthday is on 10th April. BEFORE Trigger: You select 8 days Before as a trigger, the First email will be sent out – 8 days i.e. on 2nd April. In the subsequent stages, you have to set trigger dates in decreasing order. You can set 5 days as stage 2 trigger date, 3days as Stage 3 Trigger date and so on up to 1 day.
 SAME DAY: When you select the same day, the message will be delivered on 10th April.
AFTER: You set the trigger date as 3 days after the Birthday, the first stage email will be sent on 13th April. The subsequent series have to be set in increasing order for After trigger. For stage 2 you can select 5days, then 10 days, then 15 days .
Analytics of Workflow automation for Birthday
If you are curious about the performance of your workflow automation, you can see the results by clicking on the Track button. You will be able to see the real-time analytics of the message you sent out like the view rate, click rate, etc.
- Navigate to Engagement click on Analytics under Automation.
- Click Track
- Select the mode by clicking the tab Email, Sms or Thanks.io. and review the respective campaign’s performance.