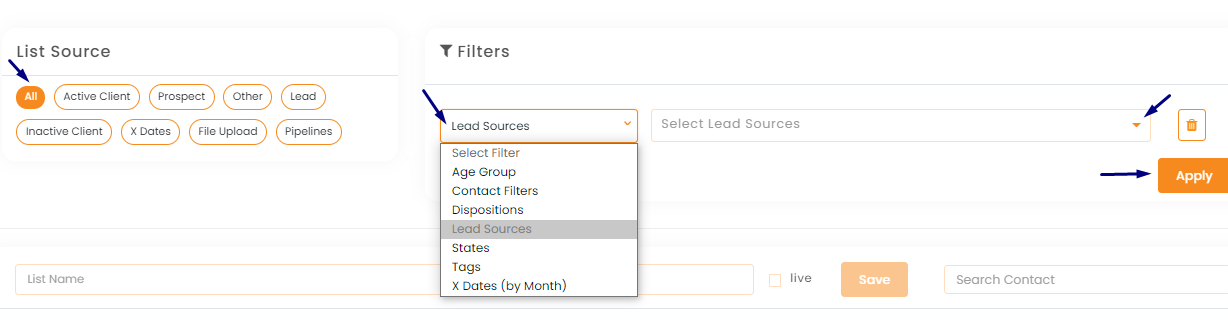

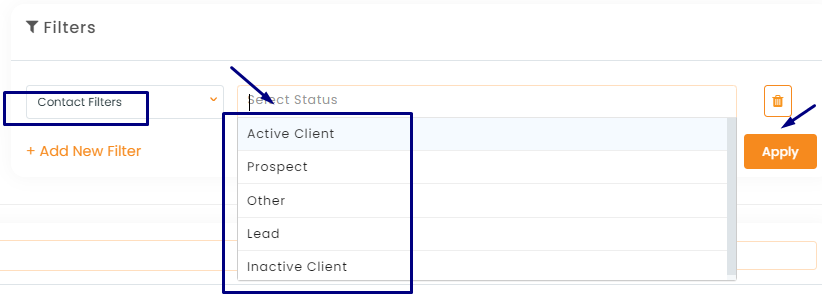
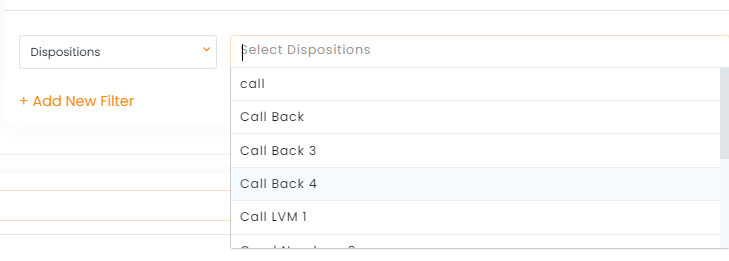
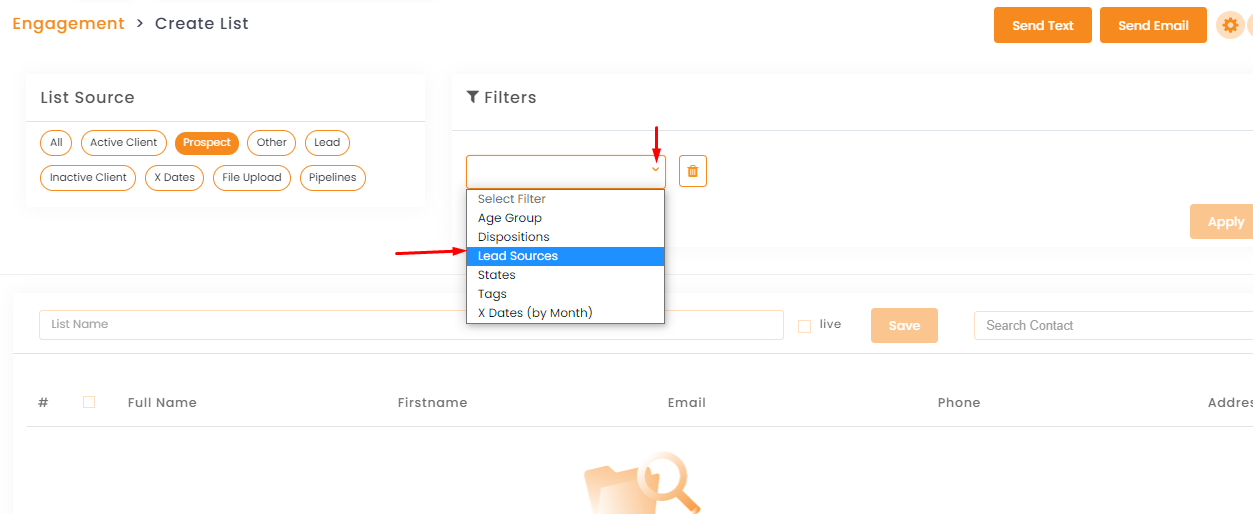

For prospects the filter list will be:
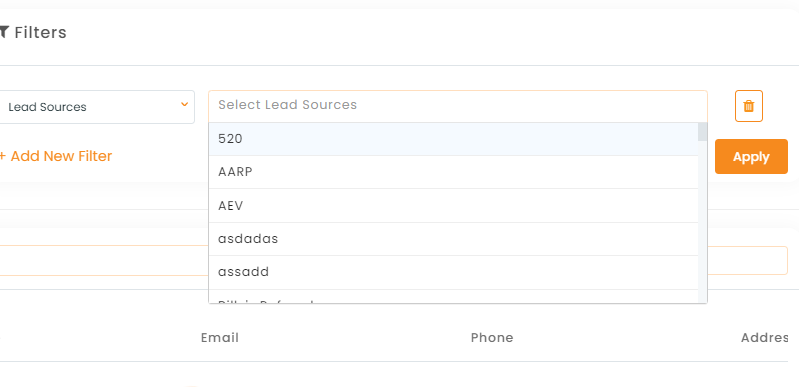
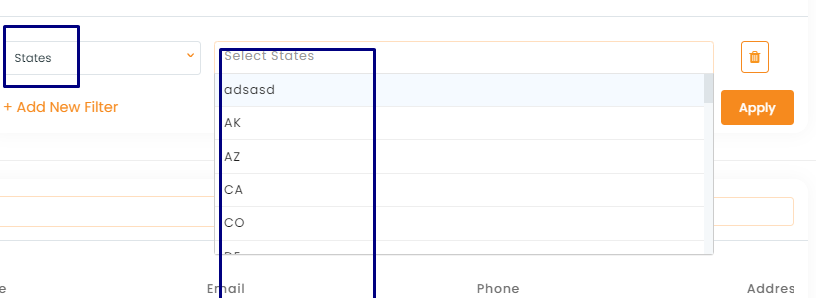
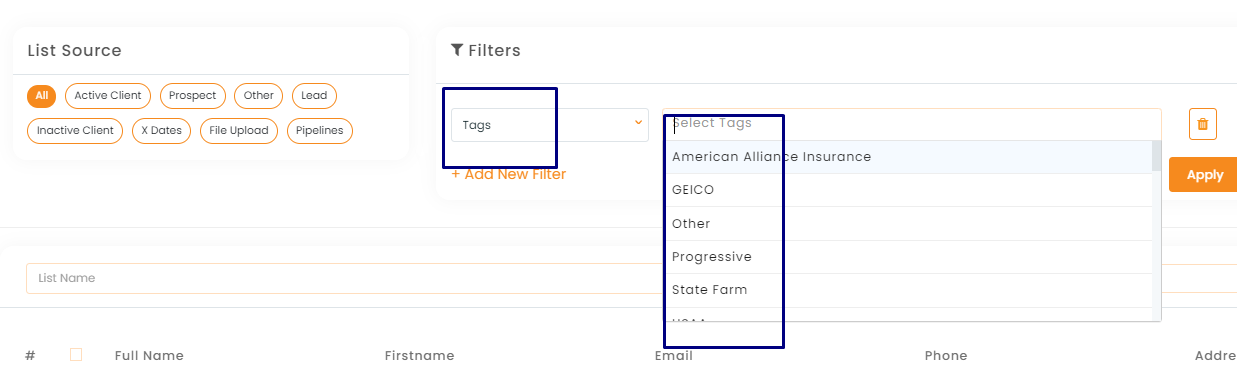
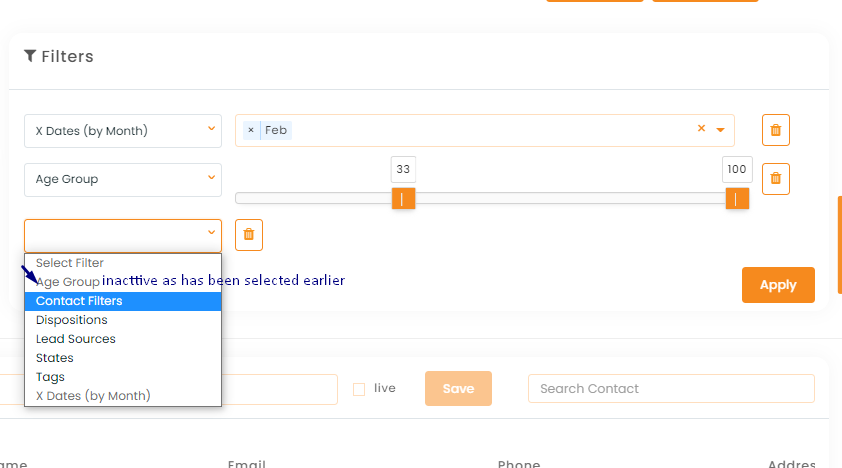
Age group, Dispositions, Lead Sources, States, Tags, X Dates (by Month).

For others the filter list will be:
Age group, Dispositions, Lead Sources, States, Tags, X Dates (by Month).

For leads the filter list will be:
Age group, Dispositions, Lead Sources, States, Tags, X Dates (by Month).

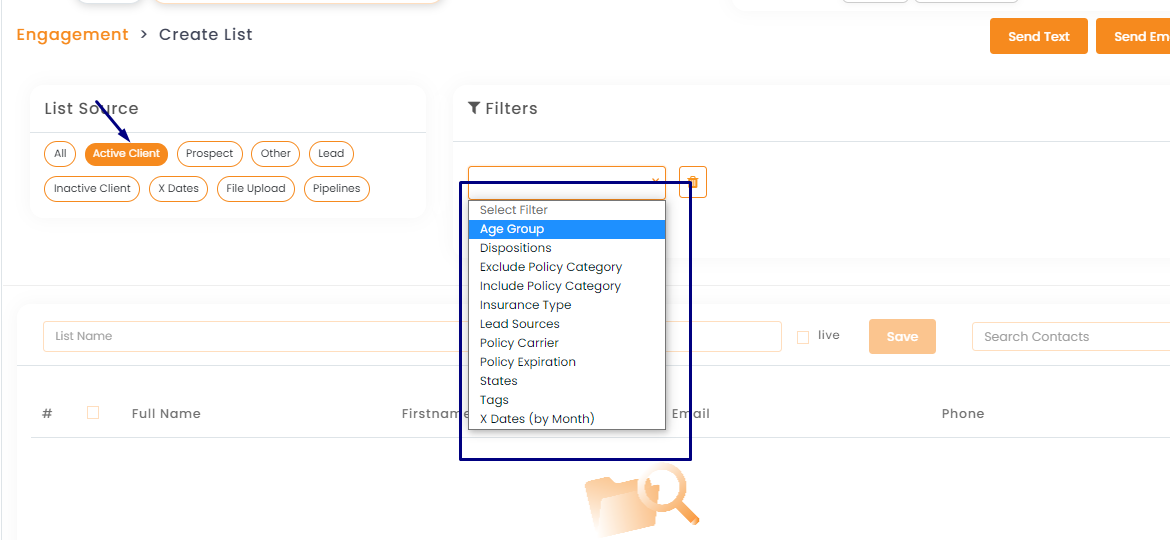
For Inactive Clients the filter list will be:
Age group, Dispositions, Exclude policy category, Include policy category,Insurance type, Lead Sources, Policy Carrier, Policy expiration, States, Tags, X Dates (by Month).

For x-dates the filter list will be:
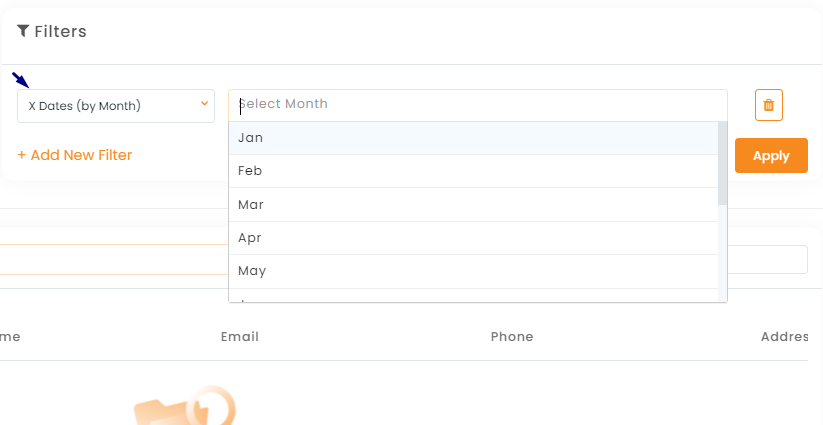
Age group, Dispositions, Exclude policy category, Include policy category,Policy Carrier, Policy expiration, Tags.

For file upload:
- Click on file upload under list source.
- Click on the import file.

- Click to download the csv or excel file format.
- Upload the csv file
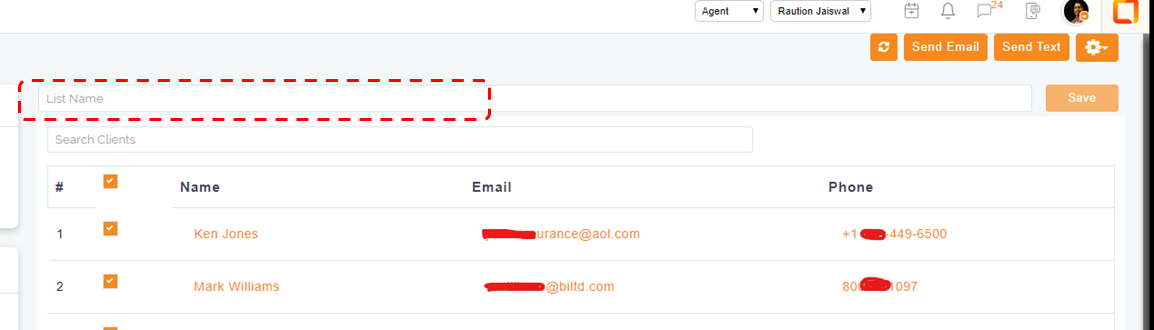
- Give a list name.
- Map the file column
- Review the mapped data
- Click to upload.

For pipeline the filter list will include the name of the pipeline. Select the pipeline and choose the stage to get the contact list.

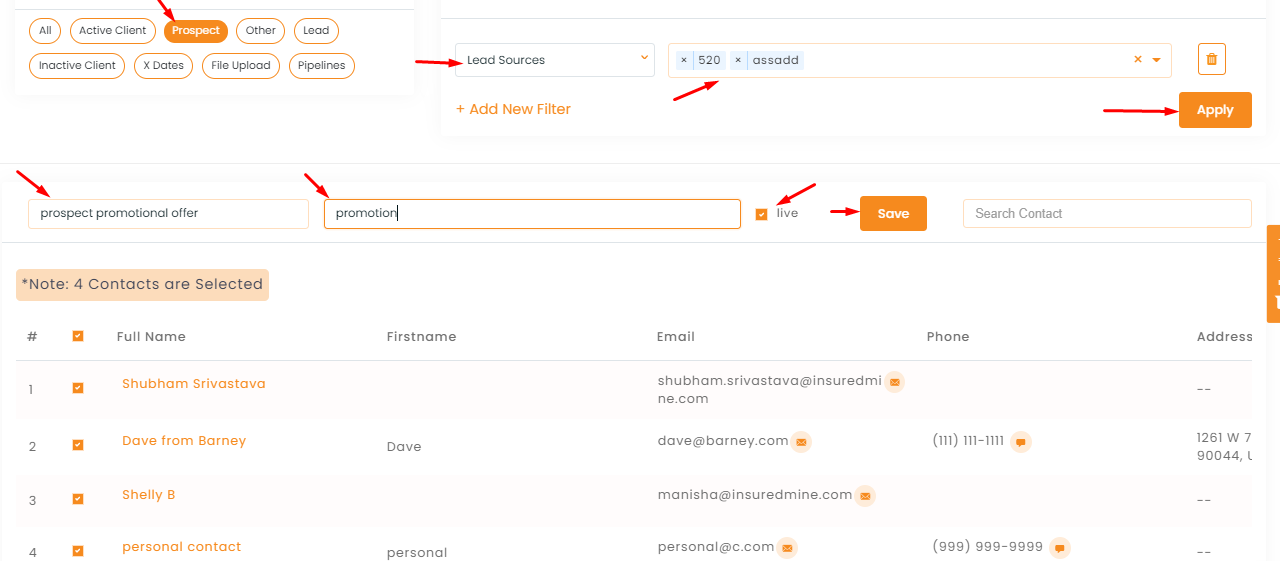
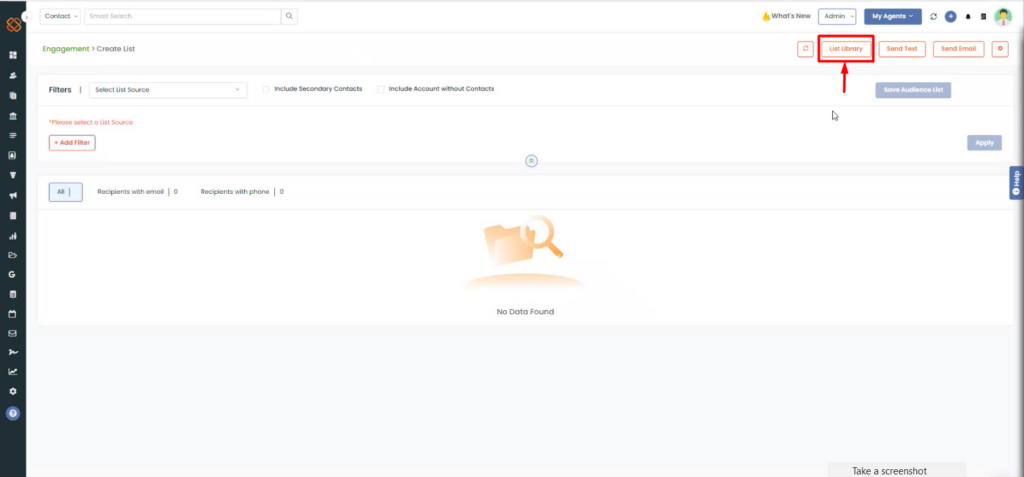
Note: For every filter you apply, based on the filter you will find the contacts below. Set a name on that contact list so that you can use it for setting any automation or campaigns.
AMS360 users can create a campaign list using filter AMS user type.

You can now create an email campaign/bulk text list based on Date of Birth.
To view the enhancement:
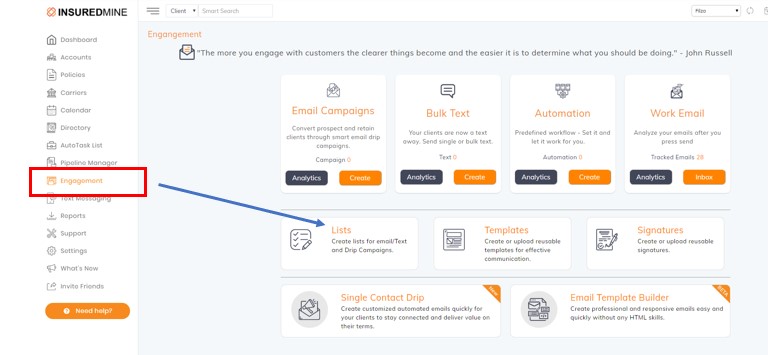
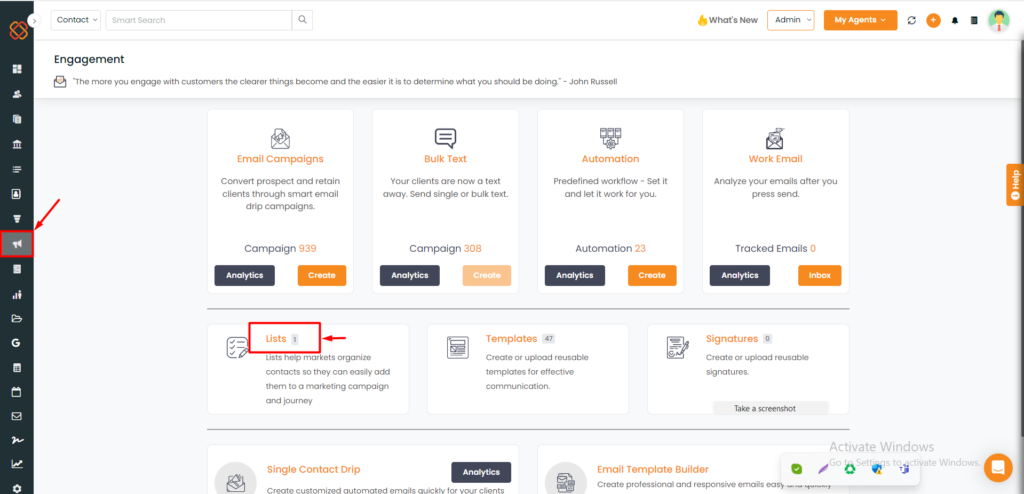
Navigate to Engagements
Click on Create Lists
In add new filter, select Date of Birth
Select the date range
Click on Apply


Based on the DOB filter range the contact list will appear.

Now you can upload data in the list section, by using excel file too. Previously it was only CSV files that you could upload but now you can do in any form- either csv or excel.
To check the enhancement:
- Navigate to Engagements
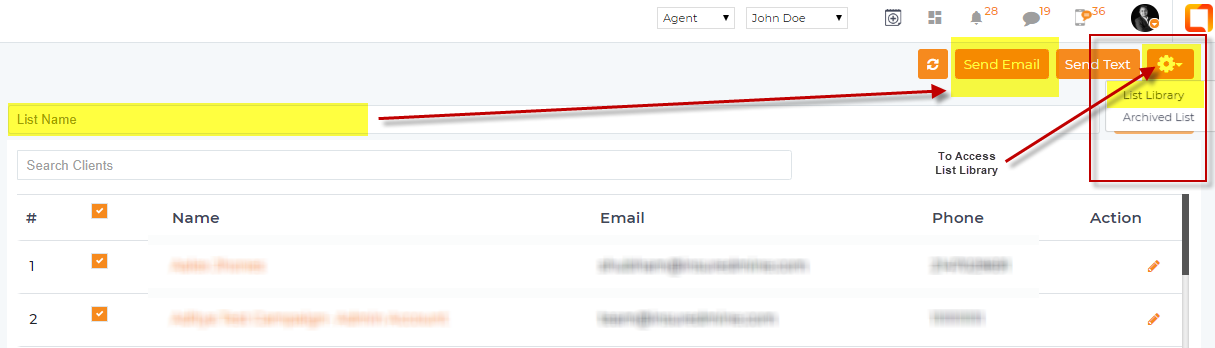
- Click on Lists
- Click on Import CSV button under Filter section

- You will get the option to upload files either in CSV or Excel format.
- Upload the Excel file that contains the contact details.

- Click on Next Step to map the file columns

- Review the mapped data and upload
- Once the file gets uploaded, click on Done

- Click on the list library to check the uploaded data.
- You can edit the name of a list that you have already created before.
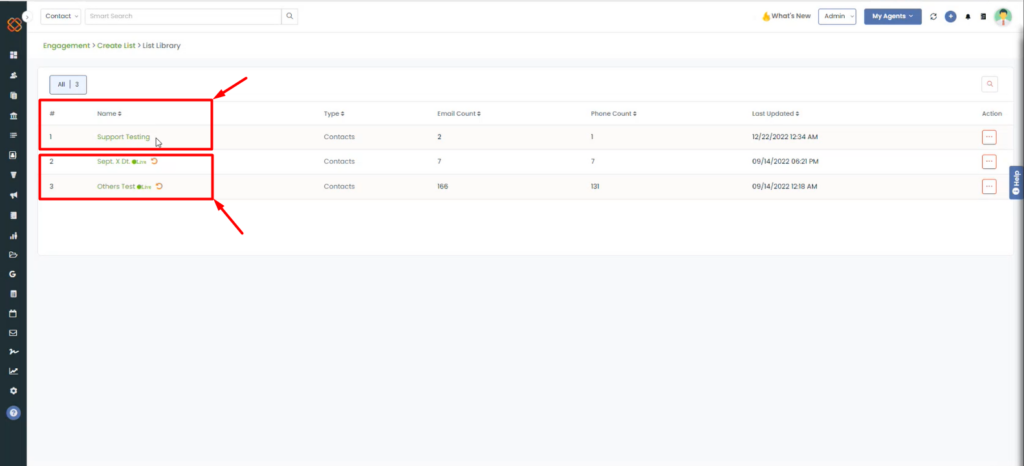
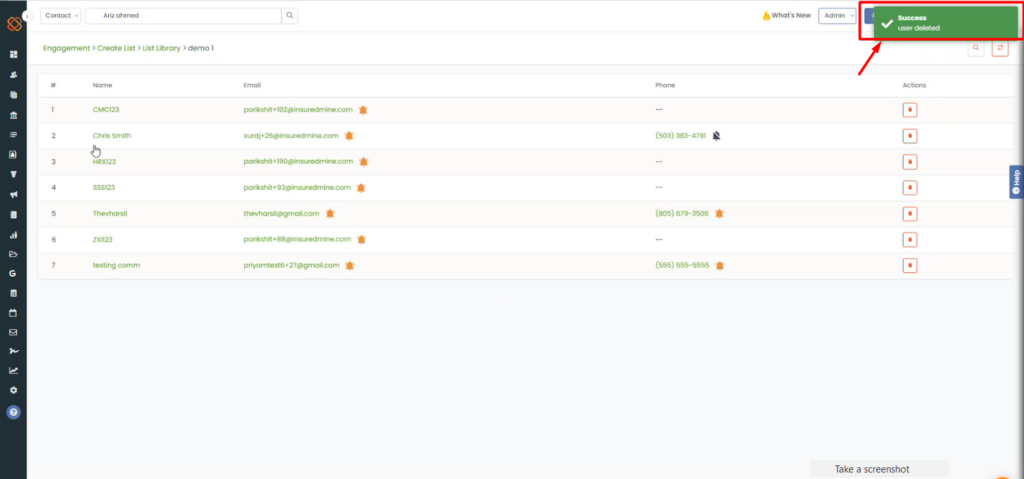
How to edit list name?
Navigate to Engagements
Click on List Library.

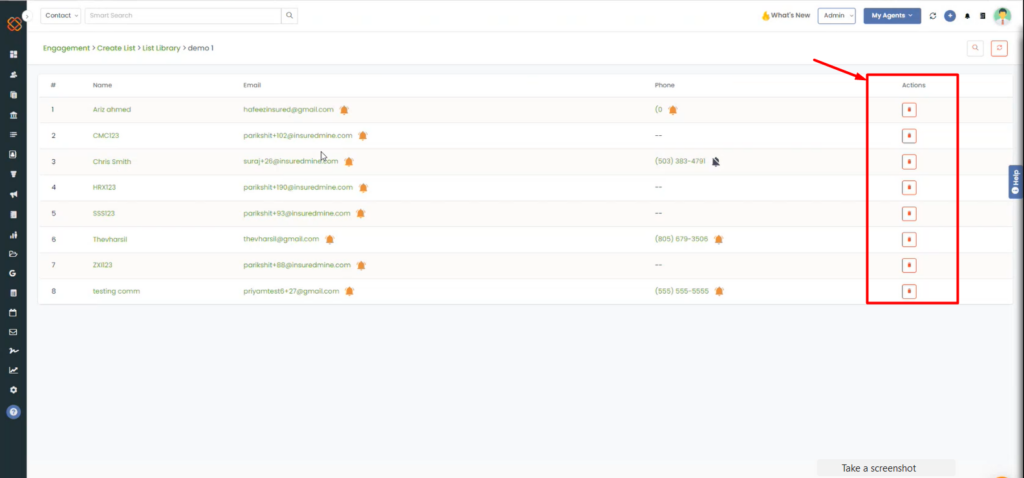
Select the list that you want to edit and click on the 3 dots under Action tab and click Edit List name

Type in the list name and click on submit

You will get a message saying: List name is updated successfully

So, when you create an email campaign, you will find the list with the edited name displayed in the list section.

In the List module, you can select multiple contacts or can even select all contacts. You will get the option to reselect the contacts as well.
In case you select all the contacts, you will get the option, select only this page contact or deselect only this page’s contacts.


In the Create list section, you can select the checkbox to include dependents. If it’s checked, in the table you can see one extra column “Dependents Data”.
Note: If dependents are included, campaign email will also go to them
The purpose of this enhancement is to show “Dependents Data” of every contact.
To view the enhancement:
- Navigate to the Engagement module.
- Go to create list.
- Select the list source and set the filter check the box to include the dependents and click on apply. You will find the total dependents data.


You can send email or text campaigns even to the additional contacts that are associated with the account.
Policies of an account will be mapped with the primary users and not with the secondary users. Account can have more than one user. And among the contacts there will be one primary user.
So if you are planning to target some contacts based on policy or category and want to set a campaign for them, ideally it will select the primary contacts only. But in case you want to target the secondary contacts (users), you need to select ‘include secondary contact’ while creating the list for the campaign.

Now you can add ’n’ number of dependents through Account 360.

You can add new, edit and delete dependents from the Account 360 section of a contact.

To add new dependent, click on add new
A panel will open where you have to fill in first name, last name, DOB, email phone, relationship, occupation, year employed, driver license, SSN and click on Save.

You can view the dependents data from the Contact 360 section.
Click on a contact and navigate to contact 360 section you can find the details of the dependents. You can also click on other contacts to view the details of other contacts if added any.

In the Engagement section, if you want to create a list based on dependents you can do that. You can also sort the list and view the total number of dependents from the list section in Engagement.Click on include dependents and you will have a column showing the number of dependents added to the contacts.
You can also select the desired list source and select dependents from the filter section to view the contact list that have dependents added.


